- 09/02/2026
- 8 Min Read
- By: Christian Schaefer
5 Inexpensive Replacement Parts With Shocking Repair Labor Rates

One of the more costly parts of owning a car is the upkeep. Maintenance is typically affordable, but every car has an area or two that are an “Achilles’ heel,” so to speak. For many, it’s a big, expensive part that requires some involved hours. However, there are plenty of others whose big issues stem from inexpensive parts that require tens of hours of labor just to reach the issue. That might not be a problem if you’re DIY’ing, but take your car to the dealership or an independent shop, and that repair that needs just a $10 part might cost 100x as much once all the work is factored in. There’s not much you can do about those chronic issues other than repair them when it’s time, so here are a few to look out for and potentially avoid in your next automotive purchase.
Audi MLB Evo Evaporator Core (C7 A6, 4M Q7)
- Parts Cost: $880 (Genuine) / $83 (Nissens)
- Job Total: $6000+
There are hundreds of little components in our everyday cars that we take for granted. The electric starter may just be number one, but somewhere on that list has to be air conditioning. A staple in all American-bound or built cars for many decades, it's a luxury that we’ve come to expect and even require in some of the hotter parts of the country.
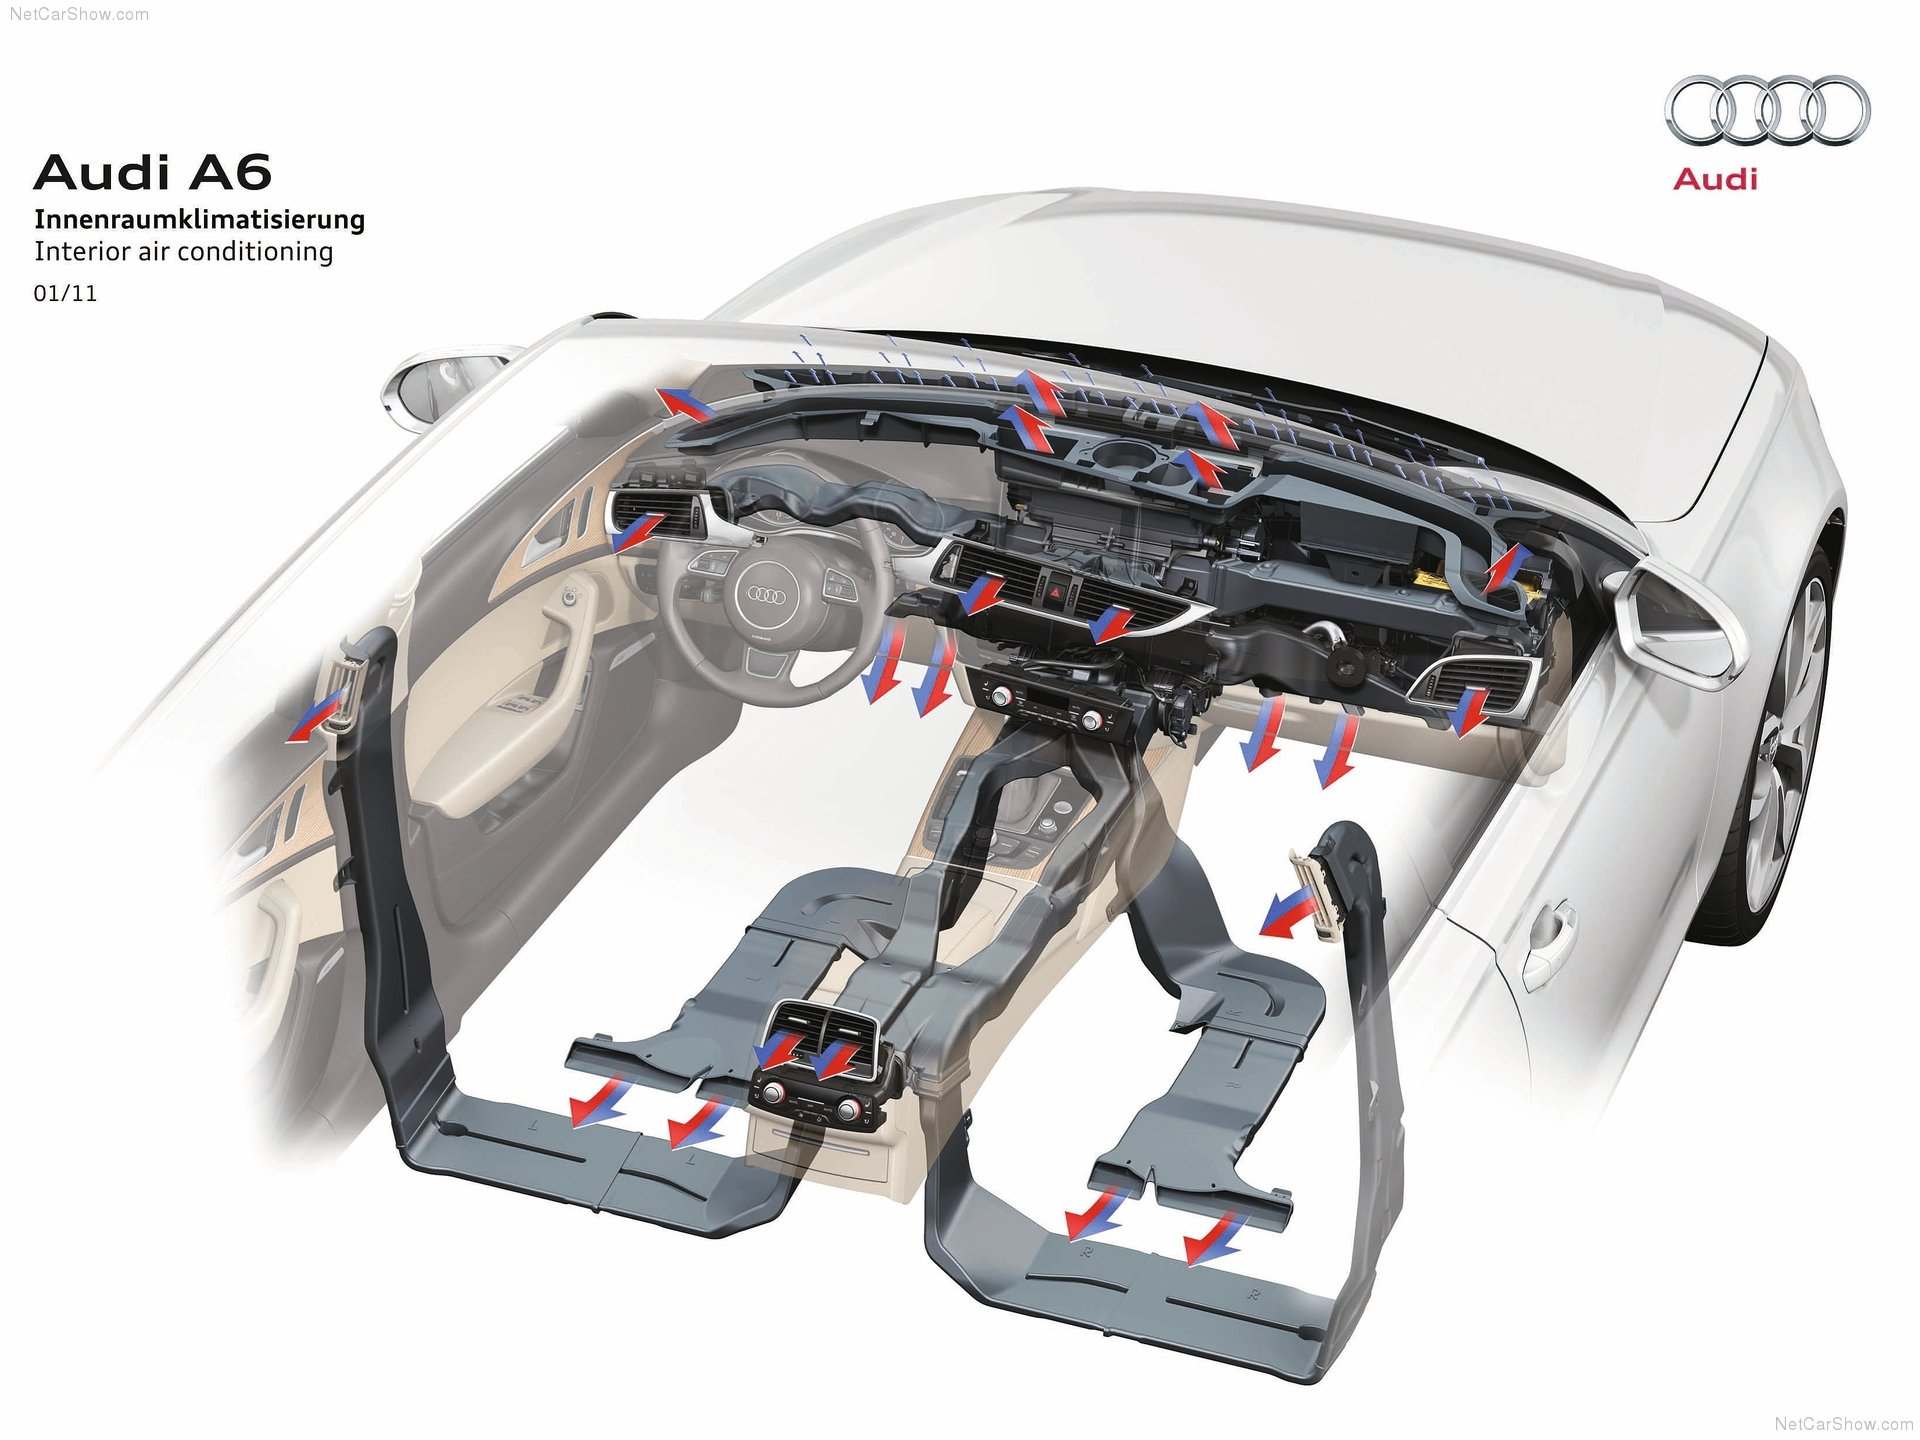
Air conditioning issues aren’t uncommon, as constantly running the system in hot environments can wear out parts. Those parts are typically made relatively accessible in the engine bay. Unfortunately for owners of recent Audi models, the evaporator core is not one of those parts, yet it’s a fairly common failure among higher-mileage examples. A very important part in the air-cooling process, the evap is what cools the air, acting like your home’s radiator but for cooling rather than heating. AC refrigerant gets pumped through it when you activate the system, cooling the core to near-freezing temperatures so that the air blown through it is chilled to your preferred temperature. At least, that’s what it’s supposed to do.
The constant temperature changes and the stresses on the metal evaporator core are enough to fatigue it until it cracks and leaks refrigerant. It doesn’t happen quickly in most cases and can be driven around for a while, but it will eventually grow until the system can no longer hold any pressure. Any kind of leak needs to be repaired, as airborne R134 isn’t good for your lungs or your ability to stay cool on a hot day, and the only fix is a replacement evaporator. Whether you’re in a C7 A6, B9 A4, or 4M Q7, the evaporator will be a bit pricey at a few hundred bucks, but that’s a veritable bargain compared to the job’s book-time labor cost.
The biggest issue with replacing the evaporator on any vehicle is its very common location: behind the dashboard, up against the firewall. Genuinely the deepest, least accessible part of the interior in almost every modern vehicle. However, its accessibility also depends on how the individual vehicle is assembled. In Audi’s case, it requires removing the windshield, dropping the steering column, and pulling out most everything in front of it just to reach the failed part. In total, Audi quotes around 15 hours for the job, but speak to a technician, and you’ll find plenty of instances where it took longer than that. Multiply the book hours by the hourly labor rate, which should be around $230 per hour, and you have just part of the final bill. Unfortunately, the job’s reputation precedes it, and many shops will quote you far larger figures (approaching $6000), partially to get you to take it elsewhere for repair. Should the windshield break during removal, the job becomes significantly more costly, too.
Audi extended the evaporator warranty to 100,000 miles, but many affected models are well beyond that mileage. With Ingolstadt engineers focused on newer models, there's been no official fix for the issue, and we're unfortunately not likely to see one. The same can't be said for the last decade of Volvo products, though, which have chronically suffered a very similar issue. While I didn’t mention the Swedes above, the evaporator cores in the SPA-chassis cars also leak and force a major, costly repair. Luckily for owners of those Volvos, we have a DIY for you that can prevent that problem from ever arising. With nothing for Audi, you’re stuck with a big DIY at best.
Audi 4.2L 40V Oil Cooler Pipe
- Parts Cost: $25 (Genuine)
- Job Total: $3500+
Audi’s 4.2L V8 is something of a legend in the automotive scene. It’s existed in at least four partially or unrelated variants across multiple generations spanning nearly thirty years of Audi vehicles. There have been timing belts and timing chains, four-valve and five-valve setups, normal aspiration and turbochargers, each delivering a slightly different experience. Most famously, timing chain issues have been the big boogeyman, but the early engine with a timing belt gets a much better reputation for reliability. They aren’t perfect, though, and they may have one of the most annoying issues on this list.
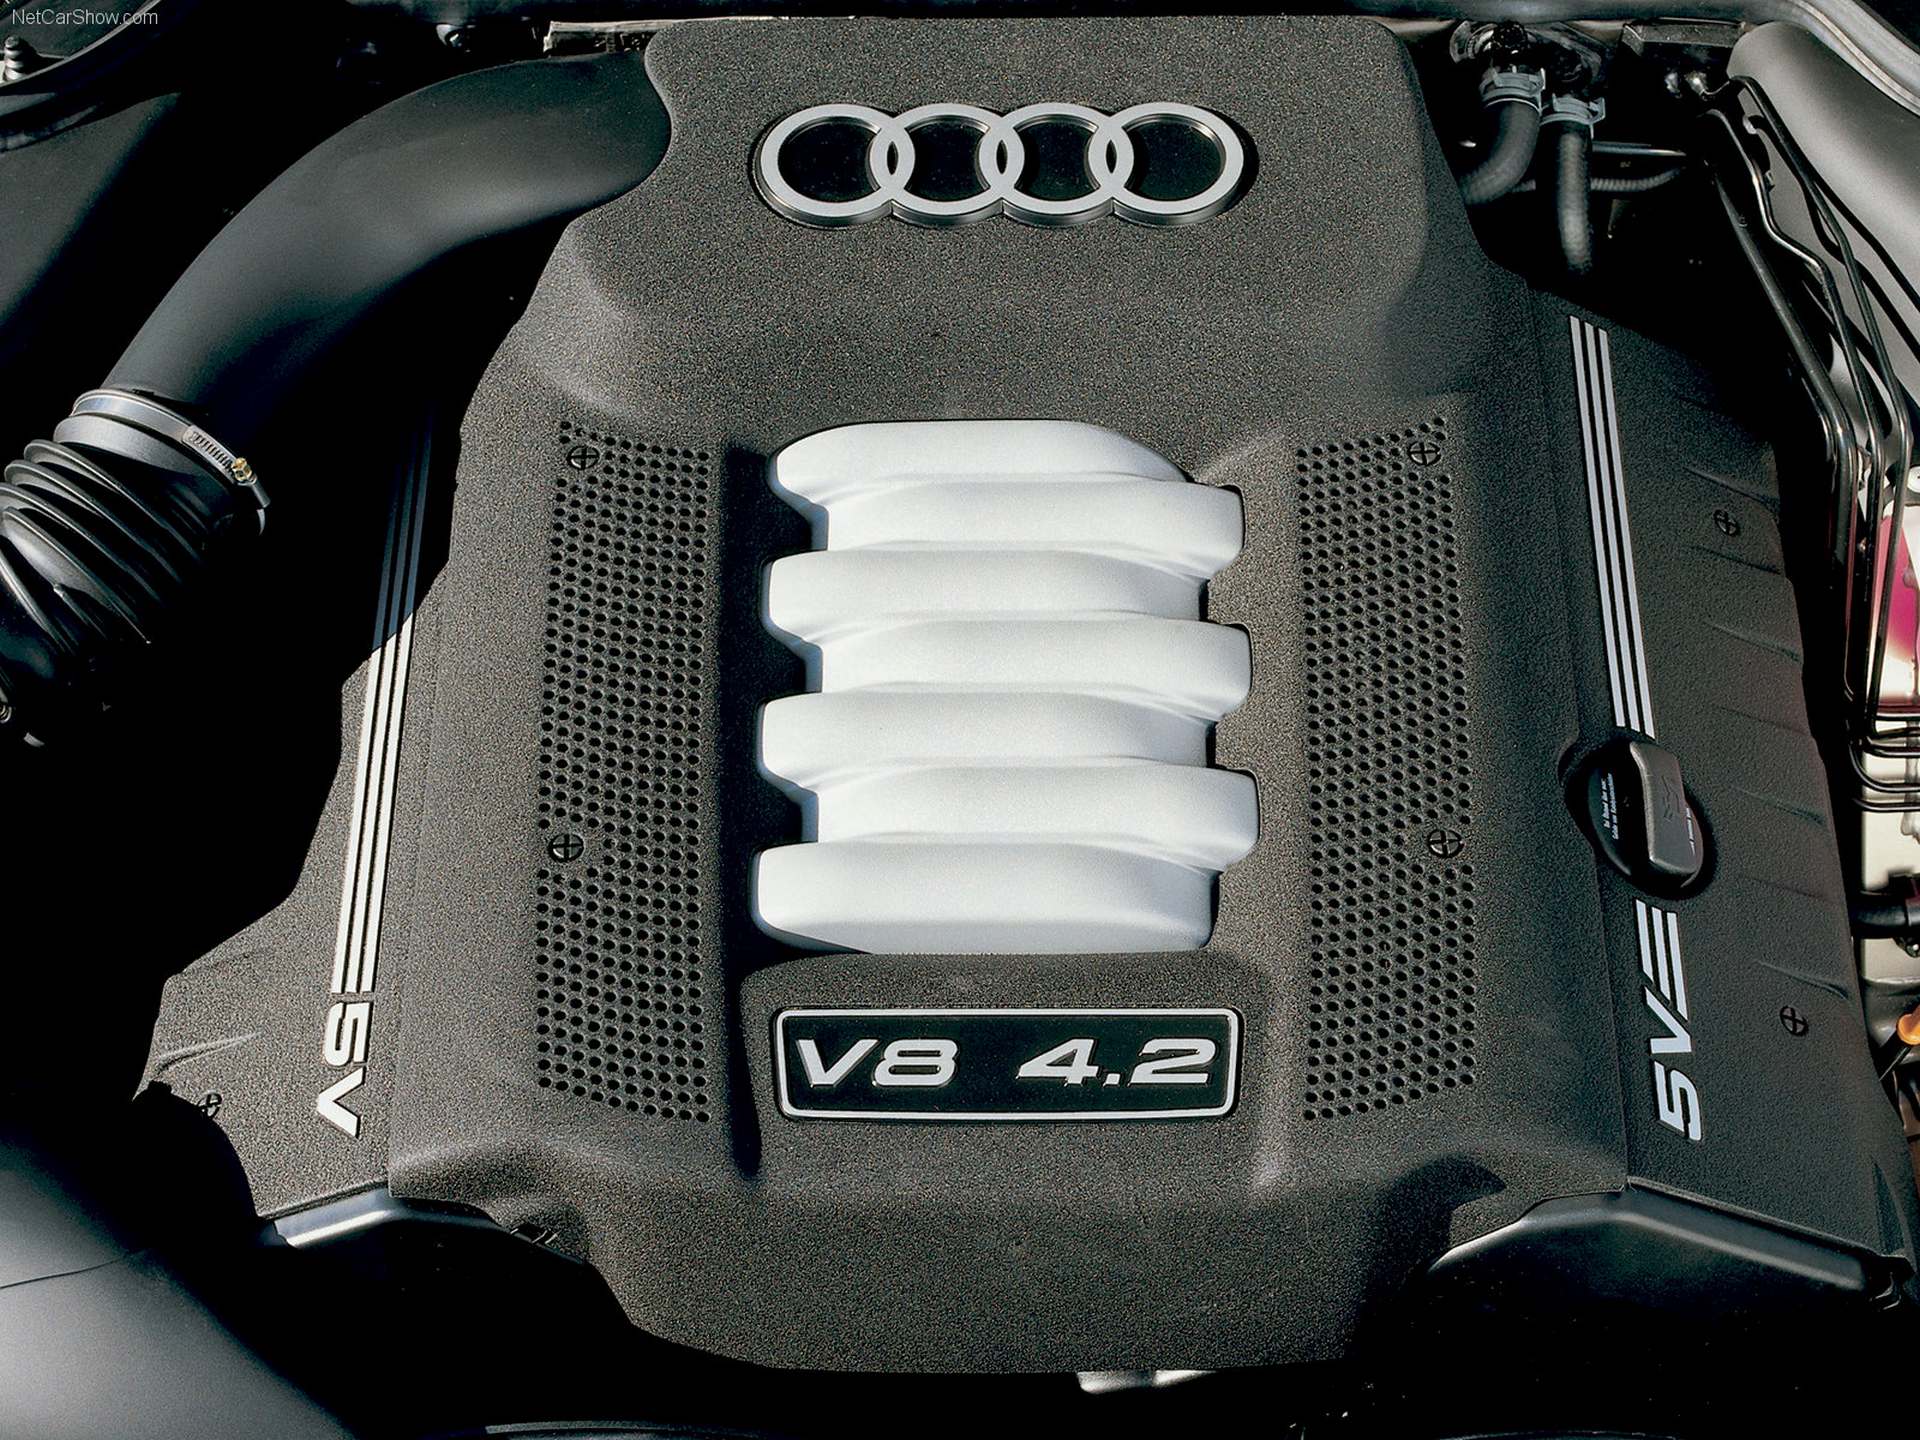
Making good power up to a 7,000+ rpm redline tends to stress an engine pretty well. The rapid rotation and combustion produce a lot of heat, which needs to be kept in check so everything remains functioning as intended. The cooling system is largely responsible for that, but the Audi 4.2L V8 also uses an oil cooler to prevent the engine’s lubricating fluid from overheating. Rather than use an air-to-oil cooler like the many aftermarket types you see, Audi used a “heat exchanger” that uses the engine coolant to cool the oil. They’ve been known to crack and mix fluids in some cars, but not in this case. The problem here lies in its packaging.
Requiring both engine oil and engine coolant, Audi engineers positioned the cooler on the backside of the oil filter housing, which sat on the lower portion of the block. The housing mated tightly against the engine to reduce the distance each fluid had to travel to reach the cooler, but only the oil had a direct transition from block to housing. Coolant was supplied by a small plastic pipe secured by a few O-rings. Now, if there’s anything you should know about owning an older car you’re going to care for, it’s that plastic doesn’t like heat. Constant heat cycling and high temperatures cause the plastic to become brittle and the rubber O-rings to dry and shrink, which is exactly what happens with the oil cooler pipe on the 40-valve 4.2L.
Being small and plastic, the pipe is hardly an expensive component, even at $25. Unfortunately, as is typical with Audi, replacement access is nonexistent with the engine in the car. As such, replacing the simple pipe and its O-rings requires removing the engine from the car, plus a good bit of disassembly just to remove the oil filter housing and cooler assembly. From there, you can simply swap out the pipe, but that’s the only simple part of the process. Book time for the removal and installation process is around seven hours, so that plus the extra time to reach the pipe and any other work needed while the engine is out quickly pushes this job into the several-thousand range. All for a $25 piece of plastic.
Mercedes M112/M113 Timing Cover Coolant Passage O-Rings
- Parts Cost: $2.29 (Genuine) / $1.79 (OEM)
- Job Total: $3000+
Engine fluids are often the cause of repairs. Most of the time, it’s their leaking out of an engine that’s an issue, but in a few rarer cases, the issue stems from leaking fluids within the engine. That’s a pretty tough thing to do, considering the fluids are already meant to be there, but it's when one of them leaks into an area where only the other is meant to be that causes a problem. Such is the case with Mercedes M112 V6 and M113 V8, which can have a $2 seal fail, triggering a major repair.
Oil and engine coolant are not meant to coexist. They can be close, but they need to be kept separate. Should they mix, you’ll be another car owner who's experienced the “forbidden chocolate milkshake” for themselves. That term refers to what happens when the two mix; they become a thick, milky substance that neither cools the engine nor lubricates it properly. It’s a common result of a bad head gasket, as many people are quick to assume, but a leak anywhere in the system will cause an intermix. Run mixed oil and coolant for too long, and you can seriously damage the engine, but catch it soon enough and you can largely avoid a large bill. A small to medium-sized bill, though, is likely on the way, as you’ll need to flush the oil and coolant passages and eliminate the leak.
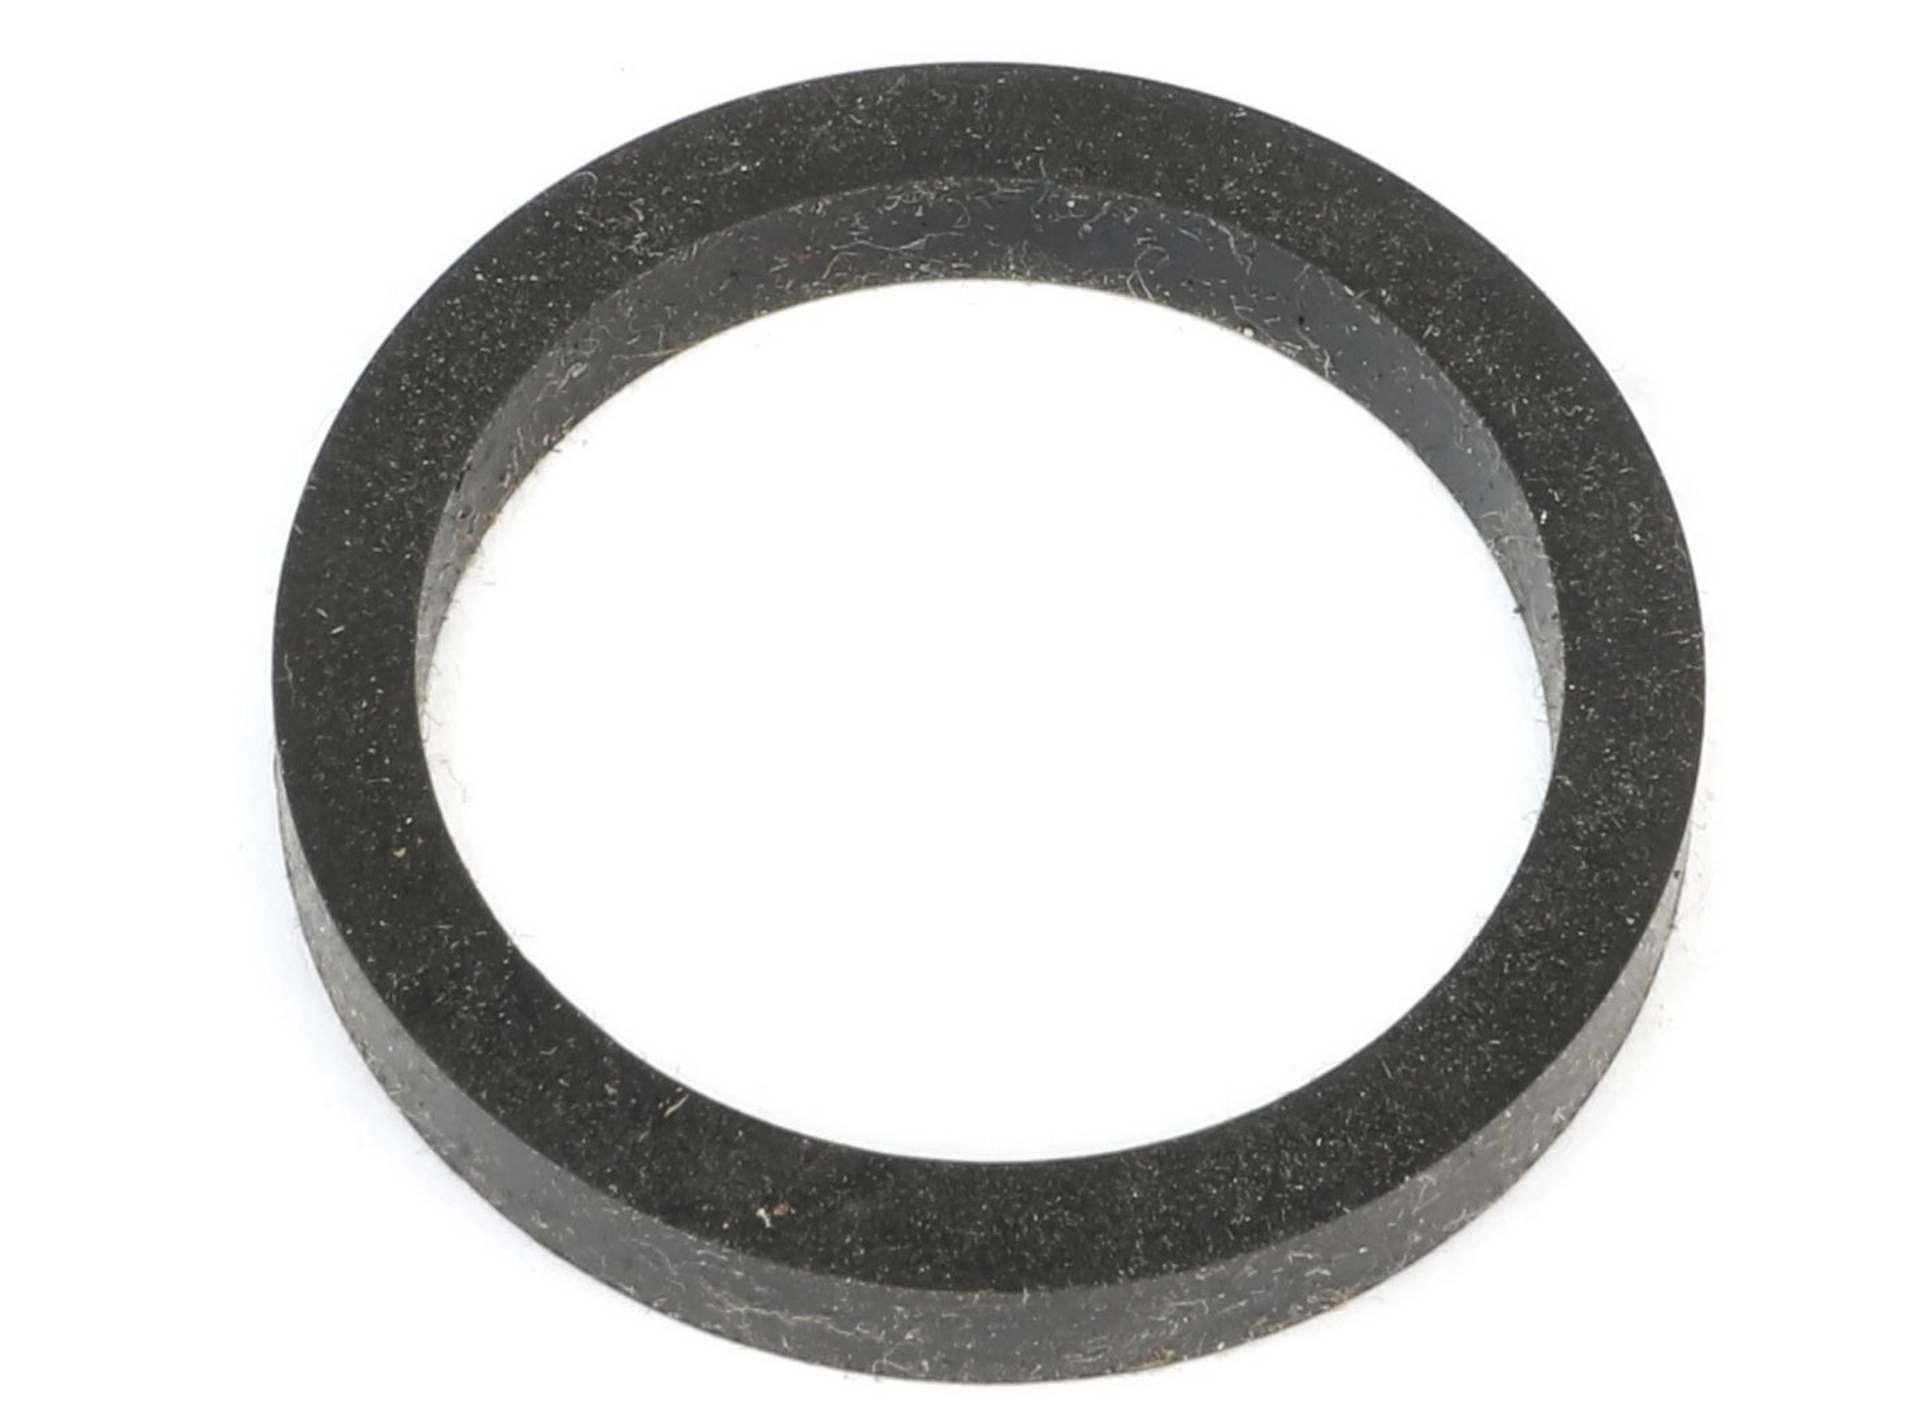
Eliminating the leak on the M112/M113 engines is not so simple, as the failure points are a couple of O-rings on the back side of the timing cover. They swell with age, either getting pulled into cooling passages or tearing, causing a coolant leak in the oil system; that’s a leak you’ll want to repair immediately. Mercedes made the cover more accessible on later engines, but for these two, the engine has to come out. Once out, off comes all of the accessories, the lower oil pan, the upper pan, and whatever is in the valley, whether that’s an intake manifold or a supercharger. There’s a handful of other smaller components I’m leaving out, too. Only once all of that has been stripped off the engine can the timing cover be removed and the O-rings replaced. On the bright side, removing the cover gives great access to oil and coolant passages that’ll need to be flushed clean.
If you can tackle this job at home, you’ll save yourself huge sums of money. At minimum, you’ll need an engine hoist and detailed instructions. It’s not going to be a quick job, either, but it does give you the chance to fix intake manifold flaps or reseal the oil pan. If you can’t make it happen in a DIY setting, you’re looking at a multi-thousand-dollar service without blinking an eye. All for two $2 seals.
BMW xDrive Oil Pan Gasket Replacement
- Parts Cost: $56 (Genuine) / $38 (OE) / $1000 (Complete Replacement Kit)
- Job Total: $3500+
BMW’s N51 and N52 are the last in the line of normally aspirated BMW straight-sixes. They’re torquey, make a great noise, and are reasonably reliable, with many owners taking them well beyond 200,000 with proper maintenance. That includes frequent water pump replacements and oil filter housing gaskets, which are nice and accessible. Unfortunately, that proper maintenance will also require an oil pan gasket replacement at some point, and that’s never a cheap endeavor.
.jpg)
The oil pan sits under the engine and carries the oil. Its gasket seals the pan to the bottom of the engine, so that returning oil remains where it should be: inside the engine. Using a dual metal-and-rubber composition, it's pretty durable, but being sandwiched between a hot engine and its oil pan eventually dries and shrinks the seal, allowing oil to leak out. These types of leaks are fairly common across many automakers, so it’s not a BMW-specific issue, but it is important. The oil pan is one of your engine's most critical areas, and avoiding contamination or damage around it is key to preventing both minor and major issues. Unfortunately, that's easier said than done,as the Bavarians’ chosen front differential packaging adds another level of complexity in an already intensive repair.
The replacement process is relatively simple for N52s with rear-wheel-drive drivetrains, but xDrive complicates it to another level. At minimum, the job requires supporting the engine from above and removing the front subframe to access the pan. That also includes dropping the front suspension and steering rack, but there’s even more with xDrive. The front differential is placed alongside the oil pan, with one of its axles traveling through it. So, beyond removing the axles from the front hubs, anyone doing the work also has to pull out the front differential and axles. All of that extra work comes with a few more seals and fluid to replace, turning a simple gasket replacement into several days' worth of work.
Alone, the gasket is just $38, but there’s more that’s involved, not to mention that the access the job gives is great for replacing a few more parts while you’re at it. In fact, our BMW experts have done the job so many times that they’ve assembled an all-inclusive “while-you’re-in-there” kit for the E90/1/2/3 3-series models. It includes all the required fluids, filters, and seals, as well as other parts like engine mounts and sway bar bushings. Extra parts aside, there’s also the labor to think about, and BMW calls for upwards of 14 hours of book time to complete the job. Even with a good labor rate below $200 per hour, you’re still looking at over $2000 in labor alone. This is a major job for any N5X engine, turbocharged variants included. If you’re looking to purchase one, try to find one with this job already completed.
Porsche Cayenne Turbo Cooling Tees
- Parts Cost: $125 (Genuine). Parts Listed Below
- Job Total: $3000+
Manufacturers love to use plastic pipes and connections in an engine’s cooling system. They’re lighter than metals, cheaper to produce, and hold together well enough. Unfortunately for many high-mileage owners, that well enough becomes a brittle mess. Porsche Cayenne owners know this all too well, as the first-generation of V8-powered examples had a set of plastic pipes beneath the intake manifold that were almost guaranteed to fail. That issue was costly enough already, but anyone rocking a turbocharged Cayenne had even more to worry about.
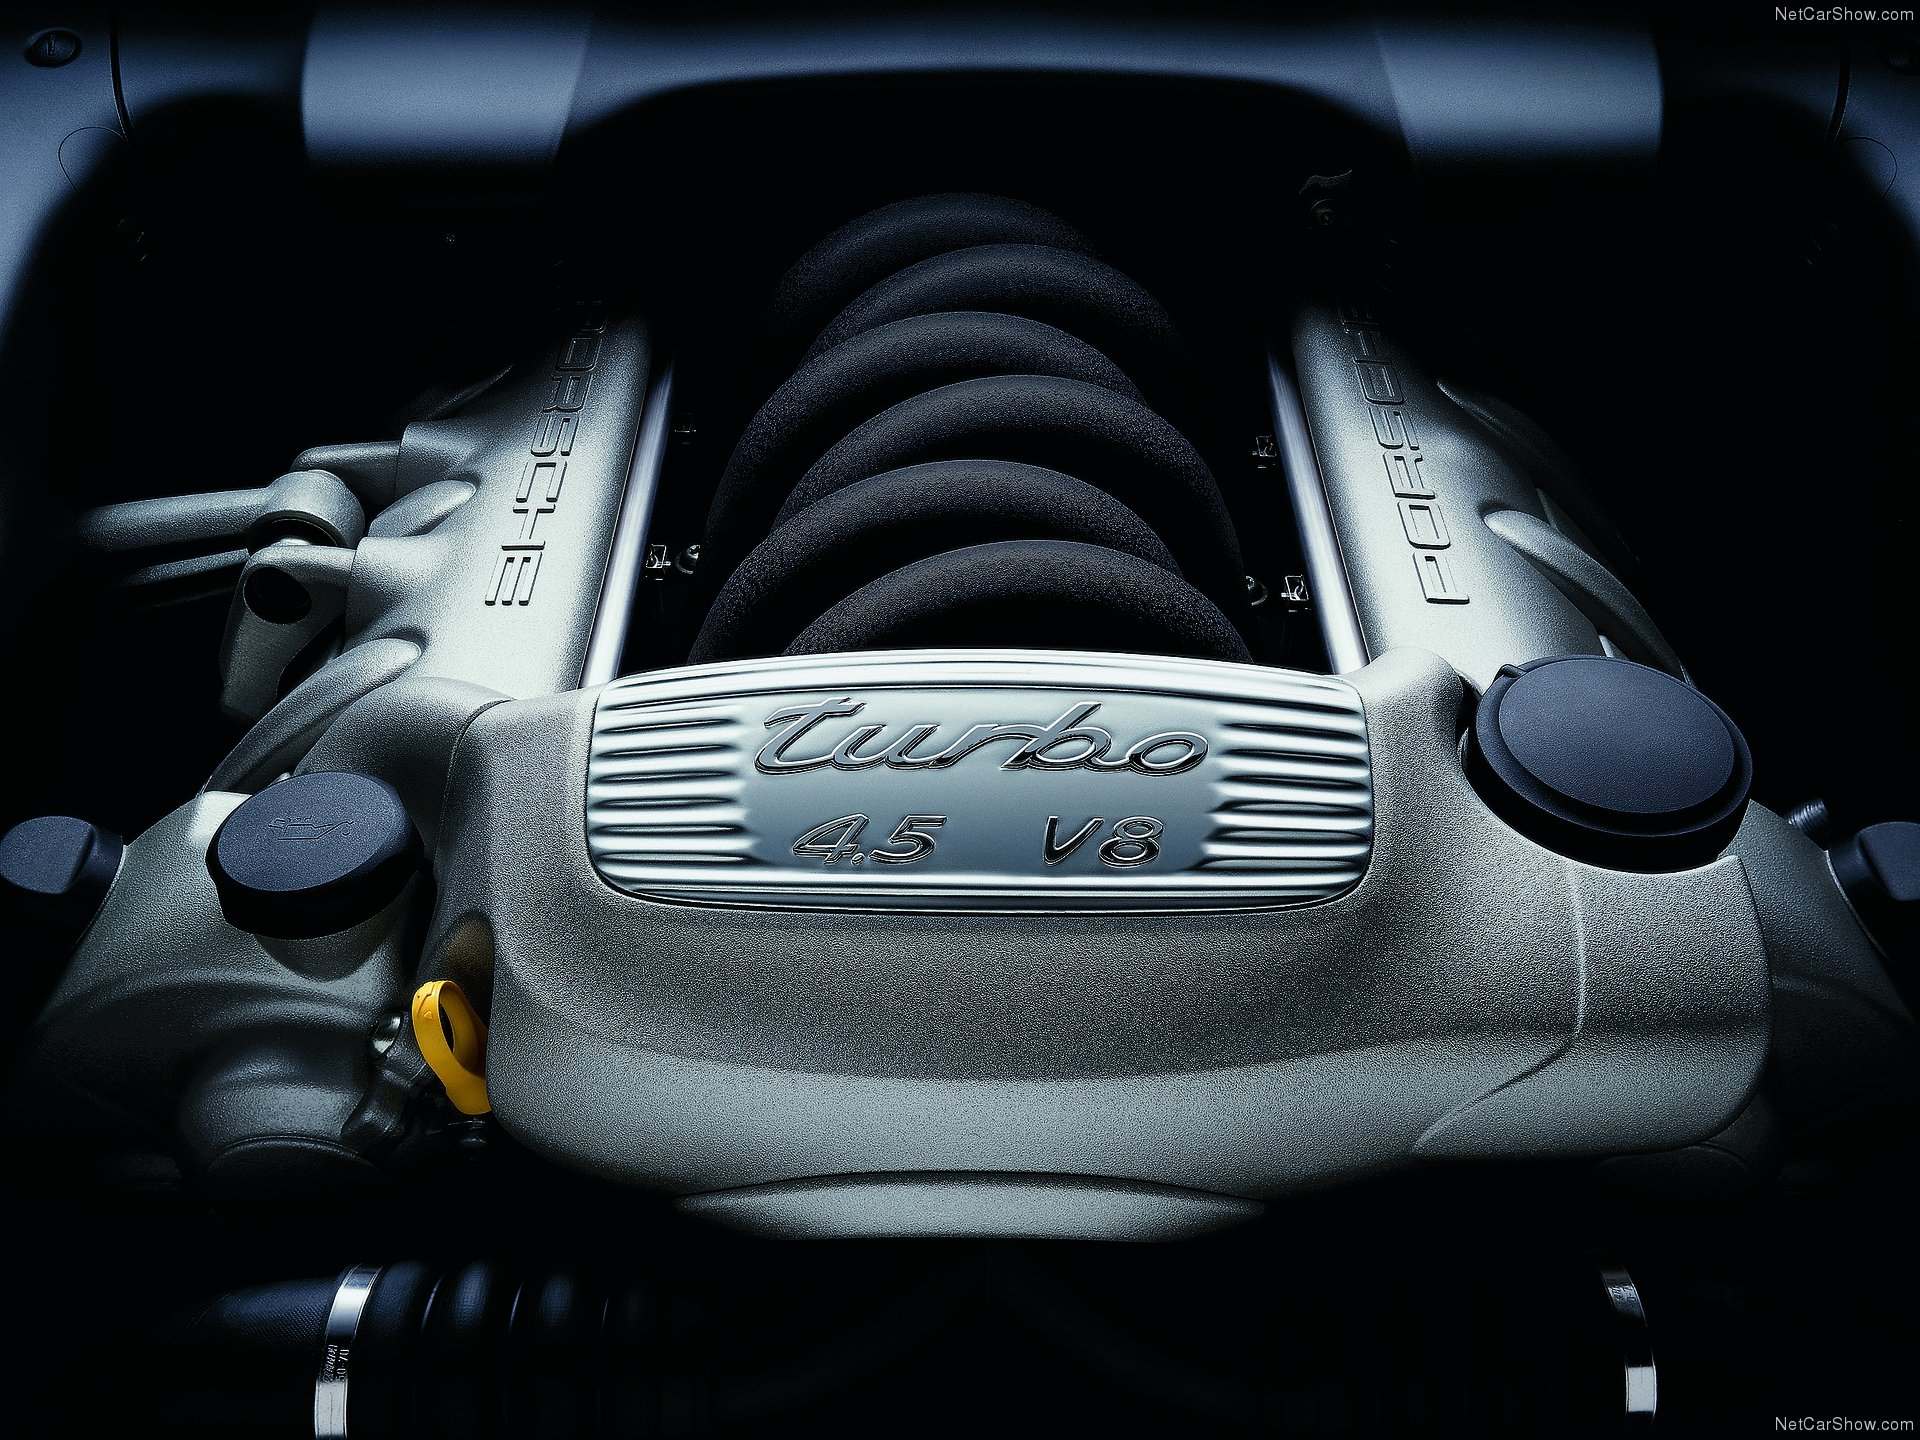
Turbocharging makes our engines more complicated. Sure, boost is great, but you can't escape the fact that adding the turbo and its associated hardware adds more than a few extra bits that can break. Sometimes it's the turbos themselves; other times it's the wastegate actuator, oil feed screens, or the plastic charge piping. In the Cayenne’s case, it’s a couple of plastic Tees that feed coolant to the turbochargers. The turbos need coolant to help prevent overheating, just like an engine, but they require significantly less flow, so their feed is much smaller, taken from the back of the cooling pipe on the rear of the engine. Their position tucks them out of the way for safekeeping, but it also makes servicing them a nightmare.
Complete failure can occur, but more than likely, one of the Tees will begin to weep first. Coolant residue will begin to coat the back of the engine and let itself known via its sweet coolant smell. Should you crawl under your Cayenne to find and observe the leak, be very careful. Touching the coolant tees can easily cause cracking or complete disintegration, leaving you with an open cooling system and an engine that shouldn’t be run until the tee is replaced. Unfortunately for you or the techs making it happen, it's not so easy.
Simply reaching the Tees means removing the intake manifold and cooling system pipes beneath it. That alone takes a little while, and it only grants general access to the area they’ll be working in. Then whoever’s working on it must root around behind the engine up against the firewall for the two fittings. The upper Tee is easier to access, with the lower being described as difficult in no uncertain terms by Porsche enthusiasts in a forum post about the issue. Once accessed, several of the hose clamps on the tees need to be cut with a Dremel tool to remove the affected parts. Reassembly may be a bit more straightforward with non-hardened rubber lines, but the tight space still makes fitting the new parts a slow and fiddly challenge.
If you’re lucky, this repair will have been taken care of when the coolant pipes were updated to the metal revision. If not, you’re looking at all of the labor involved in that one, which is almost always a few thousand dollars, plus a bit extra for what’s about $100 in parts. At least you can avoid this issue by buying a different generation or model, right? Not quite.
Although the early coolant Tees are more prone to failure and arguably more difficult to reach, all V8-powered 957 and 958 examples from the S to the Turbo S have a similarly affected plastic coolant line with three inlets/outlets. It’s more of a Y-shape, but the issue and replacement hassle remain nearly identical.
955 Cayenne Tee Part Numbers
957 & 958 Cayenne Part Number
These jobs are all doable at home, but more than a couple are about as labor-intensive as it gets. That said, if you rent the right tools, you can probably save yourself money by making it happen at home. Although we may not be able to guide you, we most certainly have the parts to make it all happen, and if not, give us a call; we'll more than likely stock them for you and the next person attempting the repair. As always, keep your eyes on the Blog and our YouTube channels for more great content. Happy wrenching!