I picked up a basketcase of a 1999 V70R and have been slowly bringing it back to life one item at a time, right now I will tackle recovering the factory steering wheel, it's much easier than you might think.
Nothing seemed to work
My wheel was kinda gross to begin with, the car has had a few owners and at one point I believe one of them liked to pick their nose, I mean really liked it... it really wasn't kinda gross, it was down right disgusting. I tried all sorts of chemicals and cleaners, first with gentle cloths, then more abrasive ones, nothing seemed to work and I moved onto a course sandpaper just to get rid of the layer of muck. This made the car driveable, but it didn't look or feel good and I needed another option.
In comes RedlineGoods.com; This is a foreign shop that has a lot of options for a lot of different cars, a quick look on their website and some internal debate over leather style and thread color, and a new leather steering wheel skin was headed my way.
Procedure
Step 1: Verify that you have your radio security code if applicable and disconnect the negative battery lead and stuff to the side to prevent it from touching the terminal. Then proceed to remove your airbag (if you have one) and steering wheel. You may have to research your own make/model to get it off.
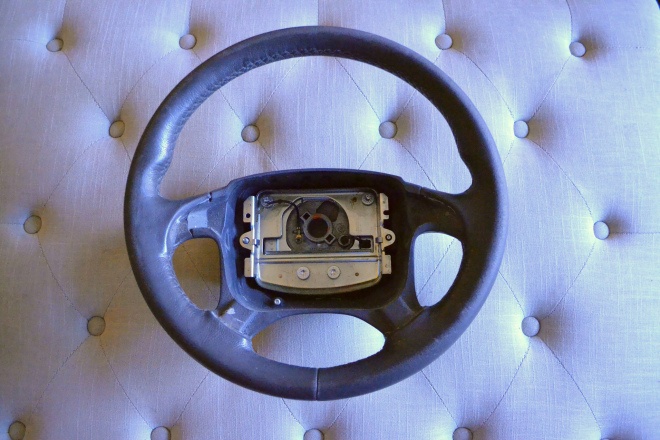
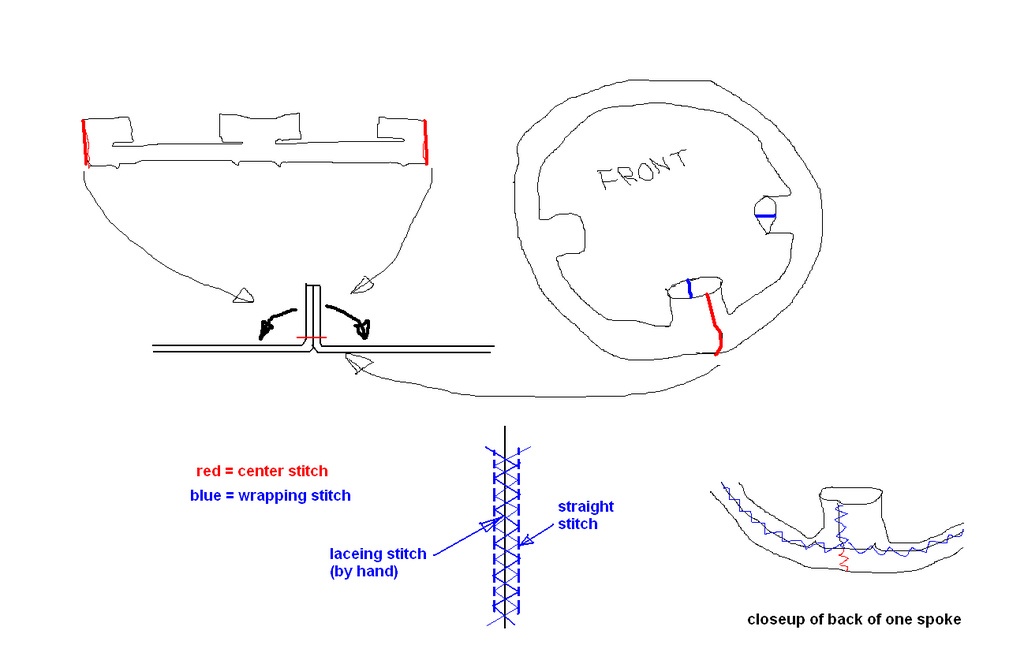
Using a razor blade, X-acto, or other sharp knife, cut along the seam where the threads pull the two halves together. Inspect the existing thread and style of threading, from what I've seen there is typically a straight stitch run down either side, then another stitch that goes back and fourth between them all the way around the perimeter of the wheel.
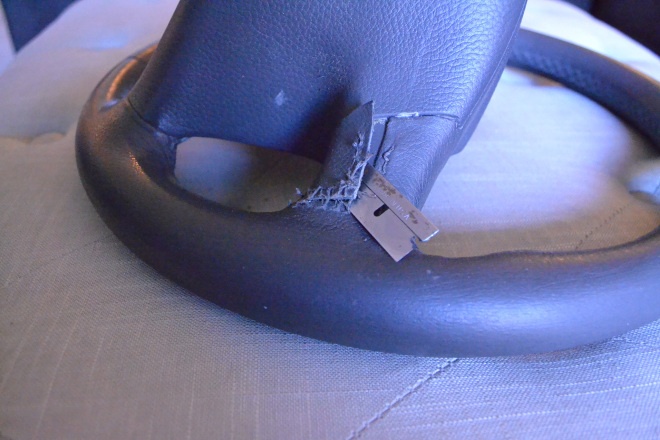
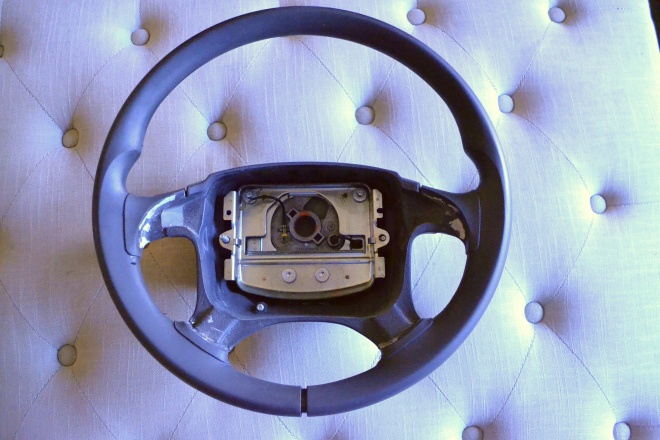
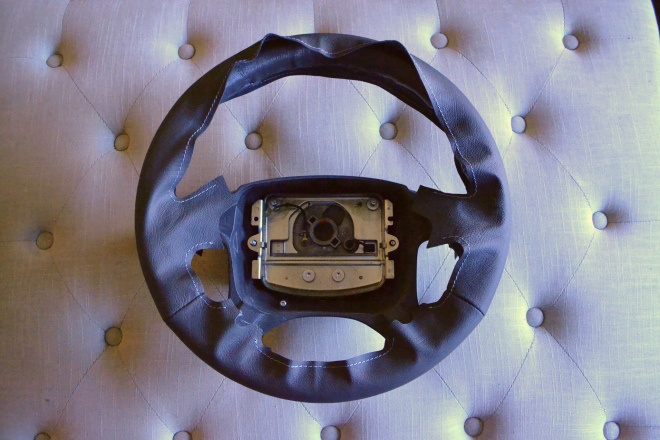
Step 3: Once all the visible seams are separated, go to work pulling the old leather off the steering wheel. It may take some effort and there may be a layer of foam and/or adhesive you'll need to also remove. Your end result should look something like this.
Step 4: Here is the new cover, foam, and thread ready to go on.
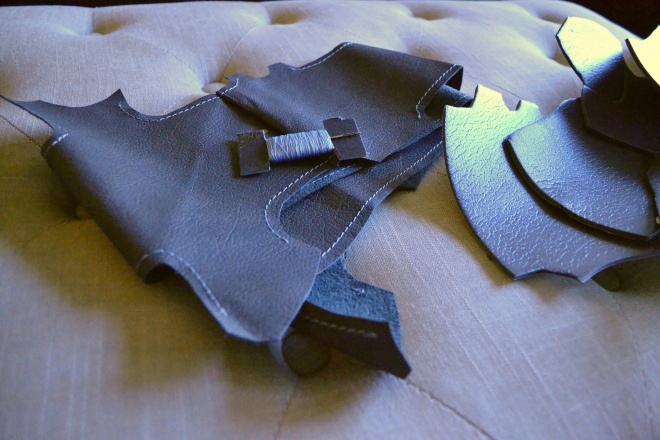
Step 5: The foam pieces are cut to size, the paper backing will describe where on the wheel they should be placed if it's not already obvious to you. I started with either side, then the bottom, and finished up with the top so that I could easily trim if I needed to.
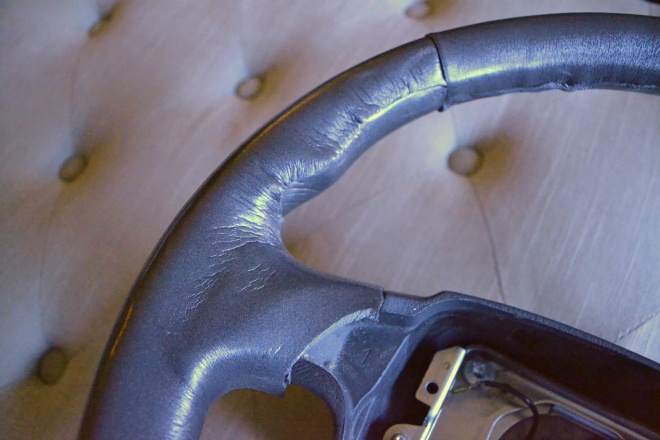
The groove in the wheel at the six-o'clock position (shown in step 3) is meant to be a relief for the stitch where the two ends of the wheel cover meet, to prevent it from bulging out. It's good practice to replicate a groove or set of grooves in the foam depending on where the seam/s is/are on the new cover. The foam is adhesive backed and very easy to work with, trim any excess if needed.
Step 6: Place the new wheel leather (or other material if you chose) around the wheel. It should be tight and may be hard at first, but it will stretch. Massage the cover into position. Wrap the sides around in a few places and get a feel for where the stitched seam will be.
Some people advise that a light adhesive be used between the leather and the foam, I didn't do this but you may want to. It will help keep the new leather in place as you tug and pull on it while lacing it up. If you keep an eye on the seam while you're going around, making slight corrections when needed, you wont have a problem.
The Fun Part
Step 7: Starting with the 6-o'clock length (on 4 spoke wheels), take a long piece of thread and thread your needle, use more thread than you think it'll take. I found generally that 4-5 times the straight length of the seam will usually be just about right, but to be safe use 6 times the length at least. There is plenty of thread included if you need to redo any of it, and any craft or fabric store will have something that's close if you really do need it. After it's through the needle bring the ends together and tie off with a knot, trim the excess.
Start on one side of the seam and pass the needle under the first stitch on one flap, then cross the gap and go under the first stitch on the other flap, cross back over the gap and run the thread through the loop that was created with the knot and cinch it up.
Now, go back and forth, using each and every stitch on either flap, one after another. Pull tight as you go but not tight enough to break the thread. After you finish with your first length you will have gotten the hang of it and may decide to pull the stitch you just made and re-do it. At the end of the length, tie off the thread and trim the excess.
Move onto the smaller sides, do the left and right and leave the large length for last. Take your time, pull the stitch tight as you go to pull the flaps together, after a few hours it'll all be wrapped up and it should look beautiful.
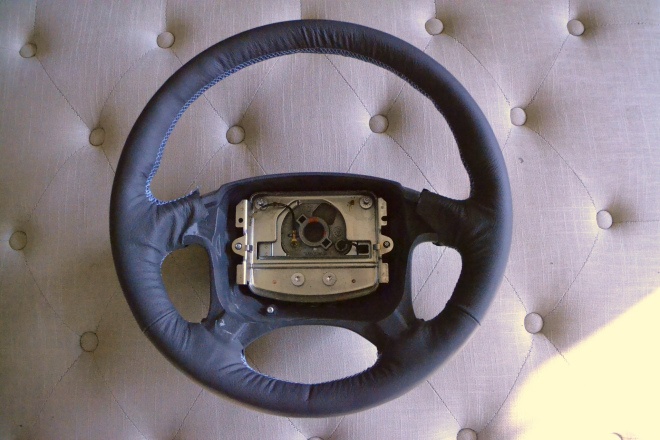
You will more than likely have some wrinkles like mine, these will work themselves out over the life of the leather, temperature changes will mold the cover to your steering wheel. Alternatively you can use a fabric steamer to steam the leather after it's been installed, as it dries it'll form itself to the wheel. Hot moist towels can supposedly do this as well.
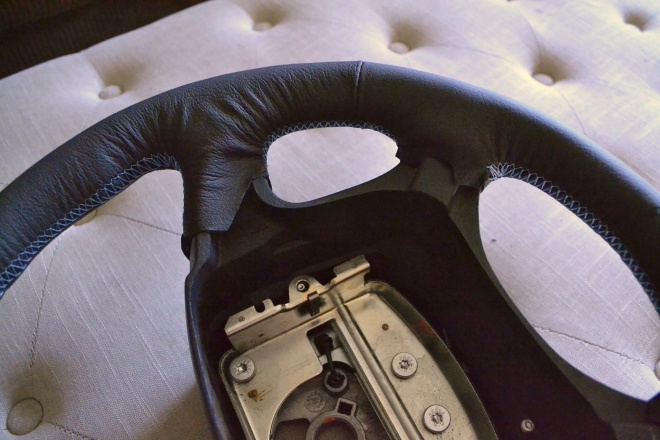
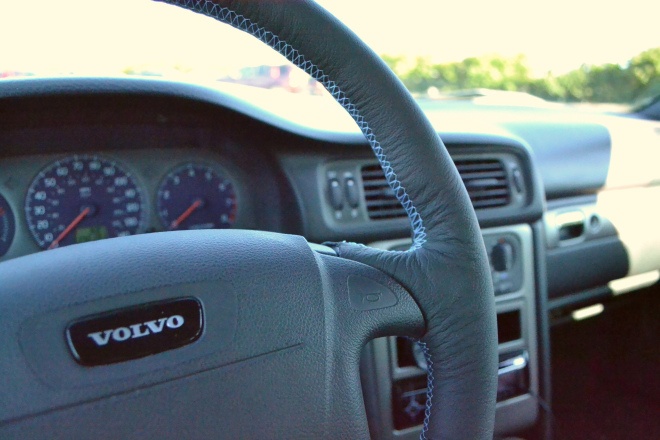
Step 8: Re-install the steering wheel and airbag, attach the battery lead and reset all of your radio stations. Go over the wheel and if there are any loose ends of flaps that need to be pulled in address them, then sit back and admire your work.
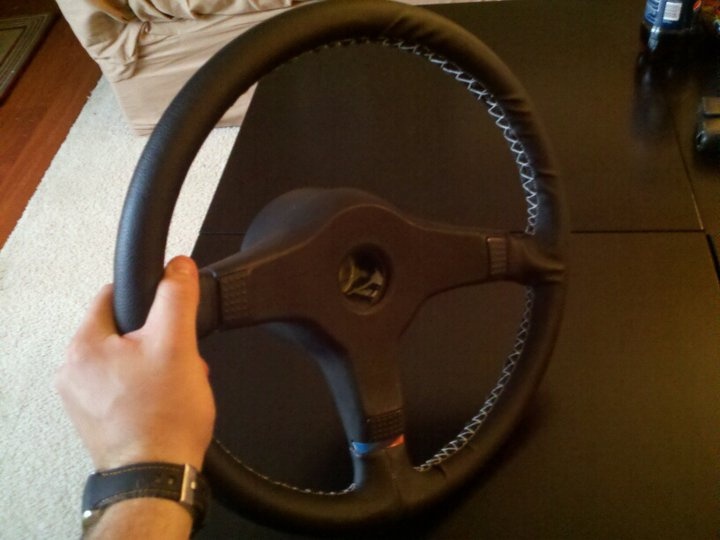
Flashback: Several years ago I recovered a steering wheel for my E30 BMW, only I didn't start with a pre-cut form. The method was just about the same except that I used the old wheel leather to trace and cut a new strip. Here is a terrible drawing and a photo of the finished product. If you look closely at the drawing, you'll see the skin in the upper left would really be for a 2-spoke wheel, whoops...
About the Author: Glen Cordle
 Glen is a mechanical designer from Minneapolis Minnesota. An old-school motorhead at heart, he respects anything that's had passion poured into it. A jack of all trades, master of some.