I’ve done my own painting with a rattle can before, and I’ve felt pretty confident to tackle pretty much any small touch-up job to larger jobs that require a bit more skill.
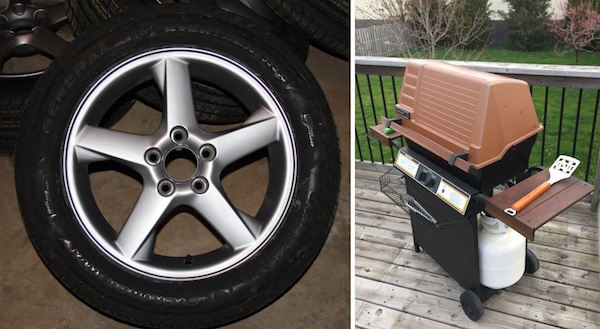
I previously painted my wheels in hyper silver, and for you grillers out there, I also refinished an old BBQ with high-temperature paint. With my latest job, I was up against my most difficult job to date: Pearl coats.
Pearl coats can be extremely difficult to get just right. A little too much pearl, and your pearl will be too dark. Too little, and the pearl won’t shine through. If the base coat isn’t done right, the pearl won’t be very good either. My wife’s Subaru had an unfortunate mishap with a curb (we share the blame on this one) and so it was my task to repair the damage.
Luckily, it was mostly cosmetic and affected only the rocker panel. Once I removed the panel, it was time to get to work. Disclaimer: Although this is FCP Euro, and any non-European car appearing on these pages may seem blasphemous, this technique for painting a Subaru pearl-coat will work just fine for pretty much any car brand.
Collect the appropriate materials

You’ll need a collection of various paints, primers, sandpaper, and polish. Here’s what you will need to add to your arsenal to get the job done right:
- Primer for flexible surfaces. Black primer for black paint, white for white paint, or grey for pretty much everything. Grey works fine with white paint, you just need to add an extra coat or two for the basecoat.
- Specific paint, which will include a basecoat, a pearl coat, and a clearcoat
- Sandpaper, starting at 400, 800, and 1500 grit. 2000 is optional for those of you who don’t think 1500 is good enough
- Fine sanding sponge - Buffing pad + polishing paste/fluid.
- Optional, but highly recommended: Paint can trigger. This allows much better control of your paint, and reduces finger fatigue.
Step 1: Thoroughly wash your car, and sand the existing paint
There are two ways you can do the full preparation of sanding. You can either sand only the area (and surrounding) you want to paint, and hope that can blend your pearlcoat to your car’s OEM pearlcoat, or you can sand the entire panel, and worry little about blending. Of course, you may be forced to blend your colors, but lucky for me, I was able to pull one panel off and take care of it on its own. As the car was also fairly new, I didn’t have to deal with any potential discoloration of the paint. I will talk about blending pearls, but only on a theoretical aspect.
In any case, make sure that the entire working surface is nice and rough, using your 400 grit sandpaper. By working surface, I mean any surface that you intend to paint. Wet sanding is not necessary. Clean off the surface with a wet cloth, and dry it off. Look into the reflection of your light to make sure that you’ve scuffed every surface you intend on painting. Don’t be afraid to sand it again. Remember, preparation is key!

As for washing your whole car, this step is twofold. When painting your pearl, you want to make sure you’re matching to a clean surface. Washing also ensures you’re not hiding any scratches that you may not have seen otherwise.
Step 2: Clean the surface
Once your surface is sanded, clean your surface thoroughly. I decided to use a combination of hot water and dish washing soap along with a foam scrubber, ensuring that there was no dust or other forms of contamination on the surface. Before proceeding, dry your panel thoroughly as you simply cannot afford to have any moisture on the surface. Take this time to re-inspect your part to see if you missed out sanding any spots. As a final step, take some acetone and do a final wipe of the surface with a lint-free cloth.
Step 3: Prime then sand the Surface. Prime again if needed.
Using your primer spray the panel in a sweeping motion about 8-12 inches away from your part. Make sure to lift the trigger at the end of each stroke to prevent pooling of paint. Primer doesn’t need to be heavy, just enough to cover the entire surface of the scratch. You can go a little heavier if you want to cover some deeper scratches, but keep in mind that the most important aspect of a primer, is that it covers the entire working surface.

Note: OEM paints are a good base to lay your basecoat on top of. You don’t need to spray primer on your OEM paint unless you’re either changing the color, or your OEM paint isn’t in greatest condition. Again, be sure however, that if you’re painting on top of OEM paint, that the surface is roughed up by 400 grit sandpaper.
Once you’ve let your primer dry (read the label for drying times), use your 400 grit sandpaper, working your way up to 800 and possibly 1500 grit, to sand the surface. Your goal is to create a smooth surface for your basecoat to lay on top of. Any defects in the primer at this stage will reveal themselves in the final finish. Don’t wet sand as the water may saturate the primer.
Step 4: Clean the surface, again.
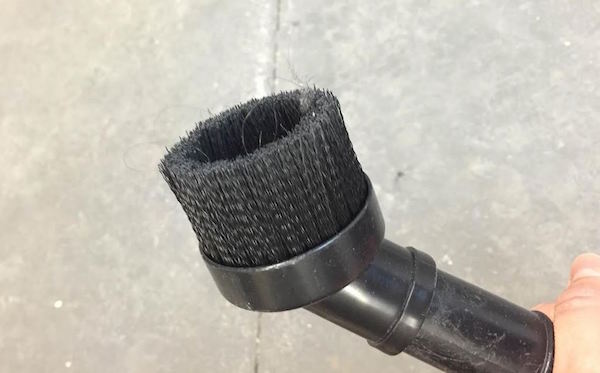
Clean off the dust with a shop vac, and do a final wipe with a dry tack cloth. Avoid using any cleaners or water as primer is very porous and might absorb the chemicals, reducing the quality and/or durability of the finish.
Step 5: Apply your base coat
This is where it all gets real. Take your basecoat (after properly shaking your paint can and making sure you’re working in a room-temperature (>20C/68F environment at the minimum) and spray your panel in a sweeping motion. Using a similar technique as described using primer, cover every surface that you previously sanded evenly. Cover your panel with either multiple thin coats, or less thick coats, making sure not to create any runs. If you don’t know how thick is too thick, stay safe and go with multiple thin coats. Wait a few minutes between coats (read your labels) to allow the paint to flash.
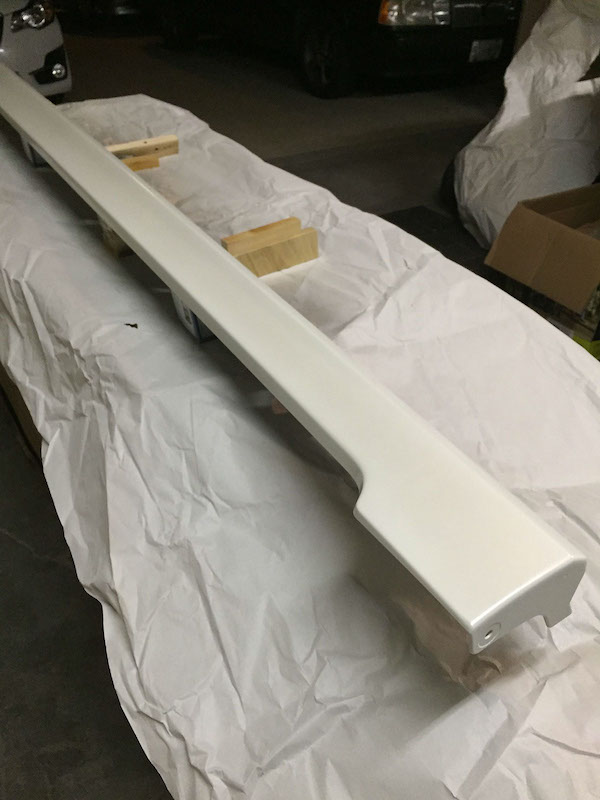
Step 5.5 (optional)
I didn’t personally do this myself, but this may be a recommended step. Depending on your basecoat (non-metallic), you may want to sand it smooth after it has dried. I say may only because of the final finish. If you don’t sand your basecoat smooth, your pearl will look noticeably different as it is sitting on a “rough” finish, similar to sitting on tiny mountains. If you sand your basecoat smooth, your pearl will look flatter, more similar to the OEM finish up close. I can’t say if anyone other than me would notice the difference, but nonetheless, it’s something to keep in mind.
Step 6: Apply your pearl coat
Once you’ve let your basecoat sit (again, read the instructions for specific time limits) paint your pearlcoat. Using the same sweeping motions to get even application, apply your pearl in very light coats. After every coat, take a step back and compare the finish with your car. Remember, you can always add coats, but it’s much more difficult to remove them!

A lighter colour means not enough pearl has been painted. You never want to get to a darker finish because that means starting from the beginning. Never sand your pearl coat. Continually add pearl coats until you are satisfied with the match of your car. Keep in mind that your pearl at this stage will still look dull compared to a clear-coated and waxed pearl. Note about blending: blending can be very difficult. The main idea is to feather the paint, progressively decreasing the amount of pearl you place on adjacent panels. As I personally did not perform any paint blending, the internet is your friend for more details.
Step 7: Apply your clearcoat
You can either wait for your pearl to fully cure, or read the labels on your cans of paint to determine how long you need to wait. As I wasn’t rushed, I waited for a few days until I proceeded to apply my clear.

When applying your clearcoat, you’ll want to do your best to both avoid drips, as well as too much orange peel on your paint surface. Unfortunately, when using spray cans, orange peel is pretty much inevitable. However, you can reduce orange peel by doing the following: - Only paint when it is warm outside (> 20C/ 68F) - Place a work lamp in front of your piece to keep it warm. - Place your cans in warm water prior to application to bring up the temperature of the paint. Do not immerse the head. Shake them well. - Stay 8-12 inches away from the surface, spraying in an even, sweeping motion. Don’t put too thin a coat on the surface. You want to make sure you have enough clearcoat to allow yourself to wet sand it without burning right through clear, into your pearl coat.
Step 8: Sand and polish your finish
This is the stage where all your hard work will finally pay off. After waiting for at least 24 hours (longer in colder environments) wet sand your piece. Starting with 800 grit sandpaper, work your way to 1500 grit, and finish off with your foam finishing pad. Instead of buying finishing pads specifically for this job, I used the foam pad that came with my 3M Headlight lens restorer kit. Note: the longer you use a piece of sandpaper, the finer the grit will get. I found that some 800 grit sanding lines were difficult to remove with my 1500 grit, until I used a new sheet of paper.

Similar to sanding the original surface, dry, observe, then repeat wet sanding to ensure a nicely even, scuffed up surface. Do your best to sand evenly, making sure not to leave gouges in the surface that may be difficult to remove. The final part of polishing can be a bit tricky. Using your favorite polisher (any “polishing” pad will suffice) and liquid polish, take your time and polish the surface to a mirror finish. You may need to take a few steps back, and refinish with sandpaper or the foam pad due to visible sanding marks that polishing cannot remove. Again, take your time, as the finish you leave here will be the final finish of your piece.
Step 9: Admire the paint, and resist the urge to wax it
You should not wax your paint as it is still drying for a few months after you have applied it. It is generally accepted to wait at least two months, with three being preferred. In the meantime, feel free to wash it as usual with the rest of your car using any of the car detailing products available at FCP Euro.

Finally, take a step back, and admire your work.