Have you ever wanted to know how your engine was doing, how long it was going to hold out or what may be leading to a decline in performance?
These are the questions we ask before every endurance race we enter. A race weekend is a significant undertaking and we don’t want to go into one without high confidence the car is going to perform. The same applies to your street car. You don’t want to be driving around with a ticking time bomb that is going to leave you stranded on the side of the road.
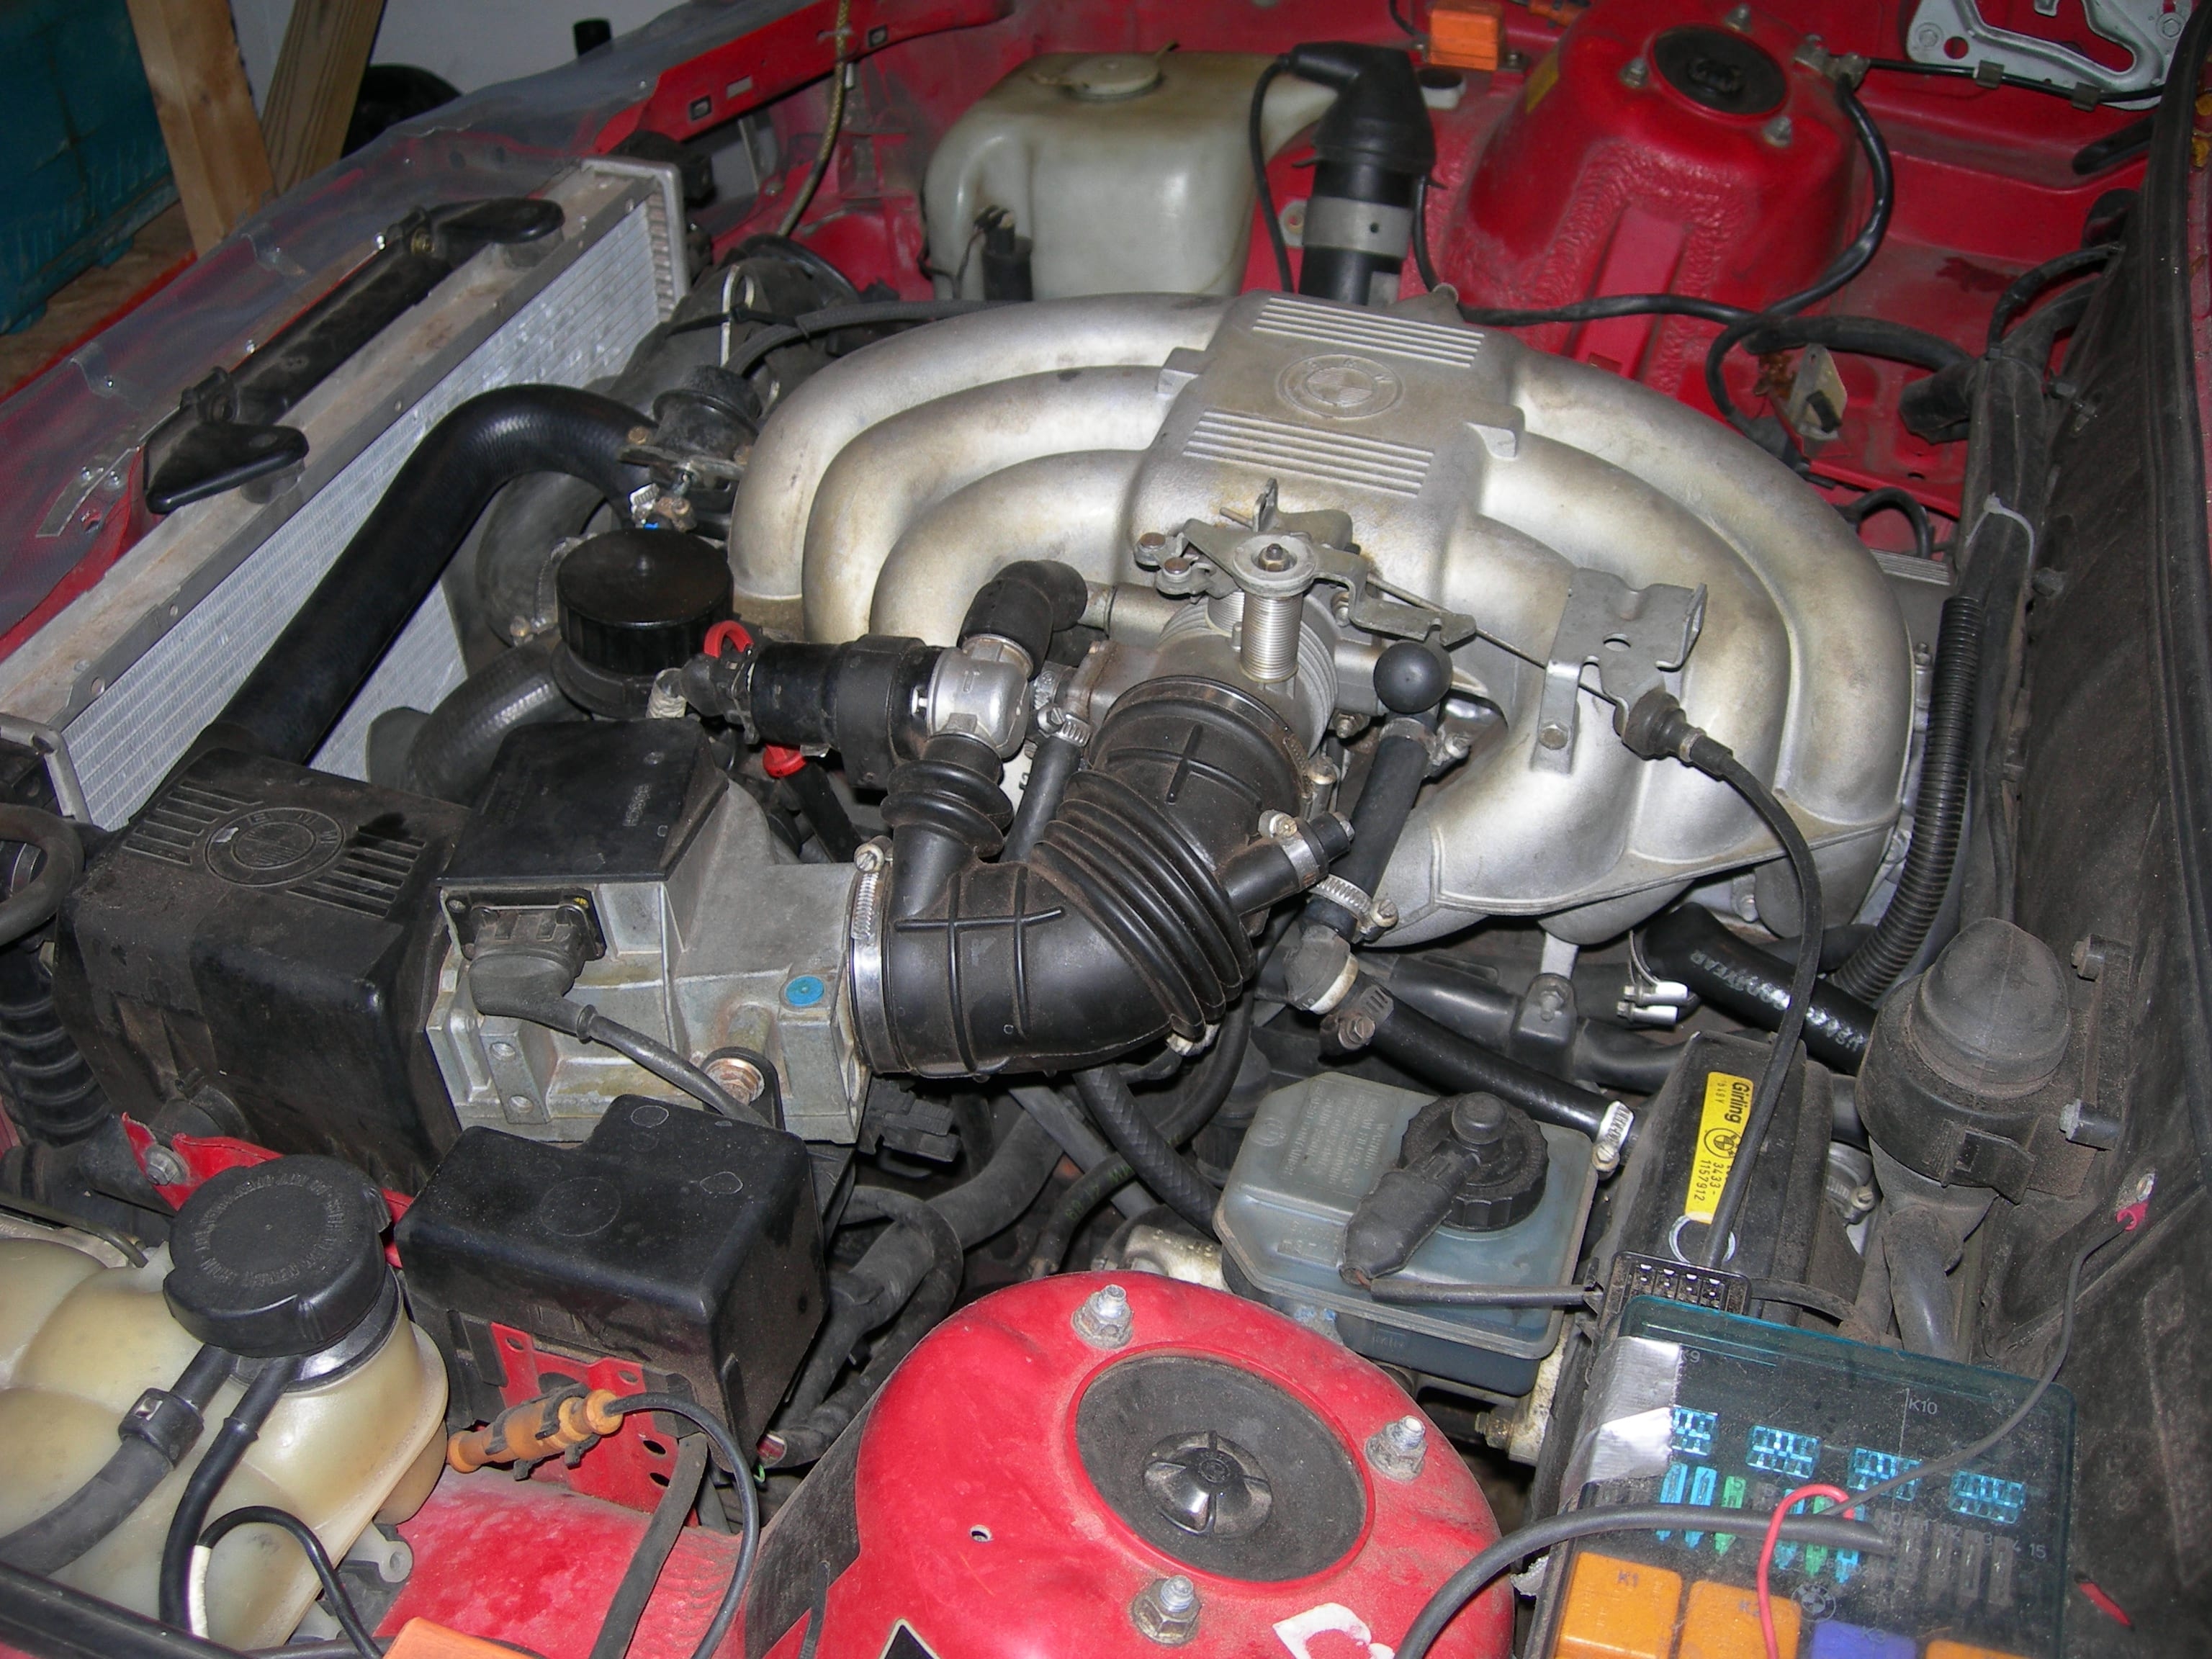
Engines running under their normal operating conditions don’t seize up and fail without warning. The manufacturers have done their homework to make sure the parts they have chosen are going to last when properly maintained. Low oil, contaminated oil, and overheating fall outside standard operating conditions and can lead to premature engine failure. Unfortunately, racing and modifying your engine can also lead to conditions that put undue stress on your powerplant. When racing long sweeping turns can pull oil away from the pickup, high and abrupt changes in RPMs create higher forces on engine internals, and continuous operation at full bore elevates engine temps. On modified cars increased redline, elevated boost, higher combustion pressure and lean fuel maps are all working to find the weak link. Anytime a system is operating at its top end it is important to monitor its health.
There are several non-destructive methods that can be used to evaluate the condition of your engine’s internals. These should be used before tearing down an engine for inspection or rebuild, and can be done periodically as routine checks to ensure an engine remains in good operating condition.
Compression Check
What it tells you: A compression check will tell you how well the combustion chamber is sealing. When an engine is running the piston moves up compressing the fuel (air and gasoline) to high pressure. This pressure is required for proper combustion to take place and typically higher pressure equates to more power. Engines that have compression numbers below specifications are not producing as much power as they could be. If the compression is really low (<100psi) the engine may not start.
What parts it checks: Valve seals, piston rings, head gasket
What you need: Compression gauge
General Procedure:
- Warm up the engine to operating temperature for most accurate results.
- Disable the ignition and fuel systems.
- Remove the spark plugs and install compression gauge in cylinder 1.
- Open throttle and crank engine over until the needle on the compression gauge stops rising (~4-5 revolutions).
- Repeat for the remaining cylinders.
What the results mean: The compression should be within the manufacturer’s specifications for your engine and should not vary cylinder to cylinder by more than ~10-15%. If you do notice one cylinder varies significantly from others you can squirt a small amount of oil into that cylinder and repeat the test. If the values improve the issue is most likely your piston rings.
Leak Down Test
What it tells you: A leak down test is another way to determine how well the combustion chamber is sealing. A compression check can tell you if a cylinder is sealing, but it does not provide a good indication of where the cylinder is leaking. When doing a leak down test the cylinder is pressurized with a consistent flow of shop air instead of the piston. The location of the escaping air indicates where the weak link in your engine is.
What parts it checks: Valve seals, piston rings, head gasket
What you need: Leak down tester
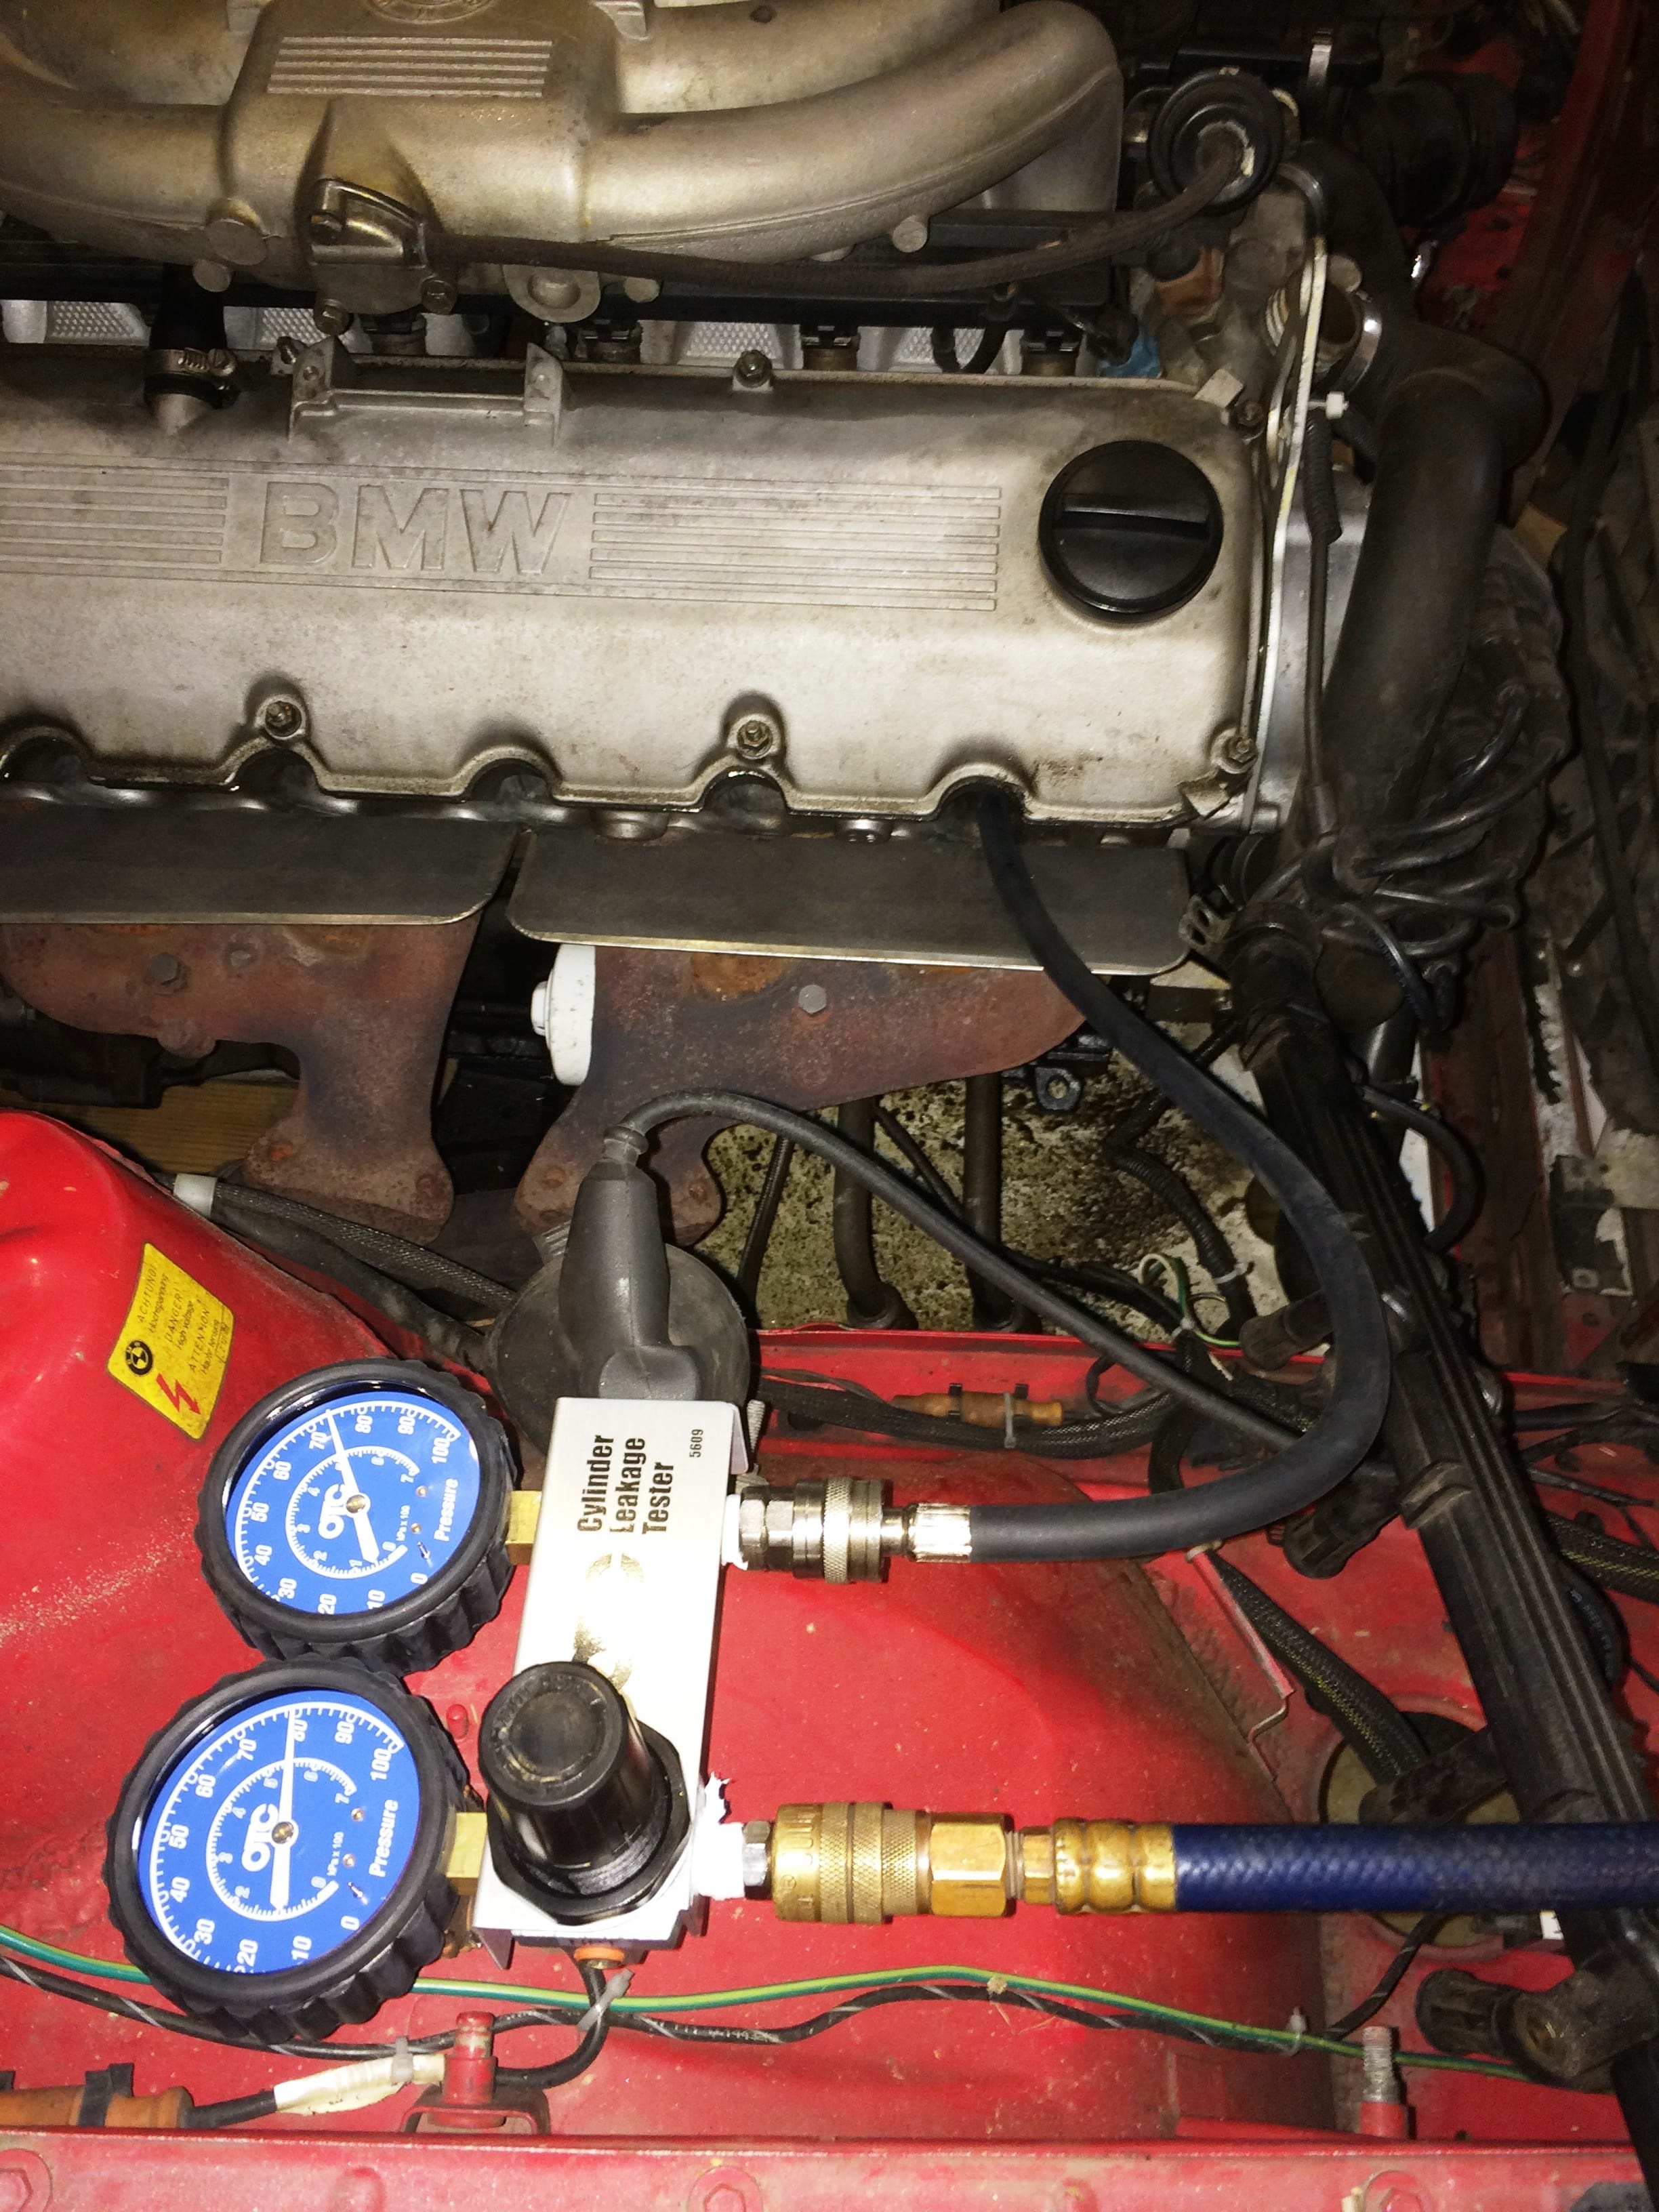
General Procedure:
- Warm up the engine to operating temperature for most accurate results.
- Remove the spark plug for the cylinder being checked.
- Set cylinder at top dead center and install the leak down tester.
- Pressurize the cylinder per the leak down tester instructions.
- Listen for where the air is leaking. The key places to check are the dipstick, throttle body, exhaust, and radiator.
- Repeat for the remaining cylinders.
What the results mean: Typical cylinder leakage for a well-sealed engine is in the 5-10% range. An engine with 10-20% should still run without issues, but may be worn. If you see more than 20% it may be time to consider a rebuild, especially if you are trying to maximize your engine’s performance. The leakage should not vary cylinder to cylinder by more than ~5psi. If there is high leakage you may want to try tapping on the top of the valve stems rockers to seat the valve. Rotating the crank slightly may also be required to get the piston rings to seat. The greatest value of the leak down test is in determining where
the leakage is occurring. If air is heard escaping from the end of the tailpipe the exhaust valves are not sealing and air leaking out the throttle body indicates an intake valve leak. Bubbles or air escaping when the radiator cap is removed is an indicator of a failed head gasket. There will always be a small amount of leakage past the piston rings which is indicated by air heard when the dipstick is removed. If air is not leaking from any other location, and there is significant leakage out the dipstick then the rings are suspect.
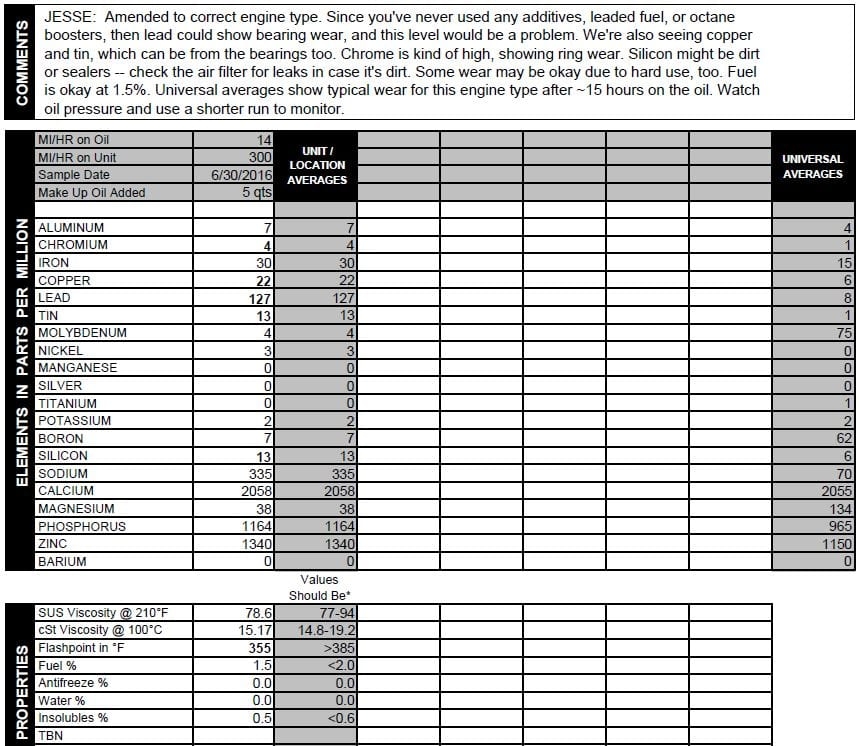
Oil Analysis
What it tells you: An oil analysis is like a sneak peak into your engine and will give you a general assessment of its health. The lab uses an oil sample to determine the elements present and properties of the used oil.
What parts it checks: Bearings, head gasket, piston rings, cam journals, & other wear surfaces
What you need: Free sample collection package from a reputable oil analysis lab
General Procedure:
- Warm up the engine to operating temperature for most accurate results.
- Remove the oil drain plug.
Fill the sample container with the oil as it drains. Let ~1 quart drain before you get your sample. You do not want the first or last out of the oil pan.
What the results mean: The presence of certain metals can indicate wear in different parts of the engine. Fuel in the oil can indicate poor ring seal and water/antifreeze may be due to a failing head gasket. The oil analysis can also tell you if your oil needs to be changed or if you can safely use a longer oil change interval (this is very common in the trucking industry due to the amount of oil used each change and cost of oils).
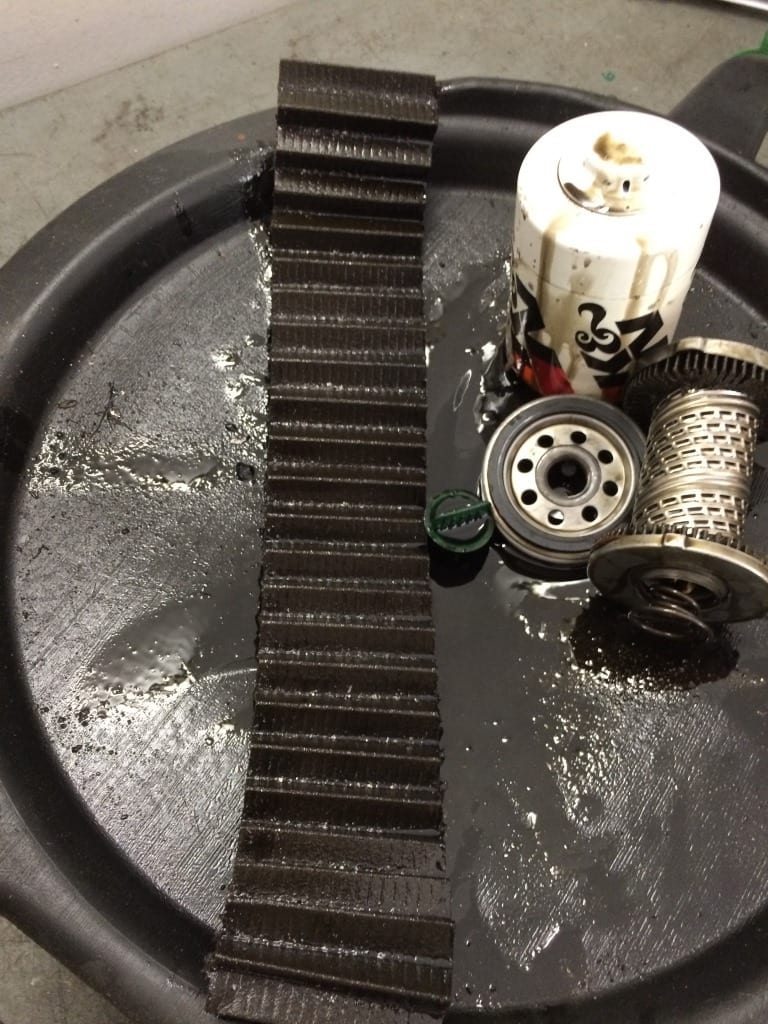
Oil Filter Teardown
What it tells you: The material left in the oil filter can tell you if the engine is wearing significantly.
What parts it checks: Bearings
What you need: Large tube cutter (I typically use a chain type exhaust tubing cutter). It is best to avoid using a saw for cutting the filter open because metal shavings will end up on your filter material.
General Procedure:
- Remove the oil filter and drain the oil.
Place the filter in a vice and use the tubing cutter to slice the oil filter housing open as close to the mounting flange as possible.
Oil Filter Teardown
What it tells you: The material left in the oil filter can tell you if the engine is wearing significantly.
What parts it checks: Bearings
What you need: Large tube cutter (I typically use a chain type exhaust tubing cutter). It is best to avoid using a saw for cutting the filter open because metal shavings will end up on your filter material.
General Procedure:
- Remove the oil filter and drain the oil.
- Place the filter in a vice and use the tubing cutter to slice the oil filter housing open as close to the mounting flange as possible.
- Cut the ends of the filter cartridge off using a knife and stretch the filter material so you can examine the contents in the folds. (Tip: A magnet and magnifying glass can be used to better identify any remnants on the filter.)
What the results mean: If you have a significant amount of small fragments or metal shavings, the bearings are wearing and you may be headed toward a rebuild. The next step is to remove the oil pan and inspect bearings. There is going to be more metal and debris (sealants, assembly lube, etc.) present after a rebuild than an older engine due to the break-in period.
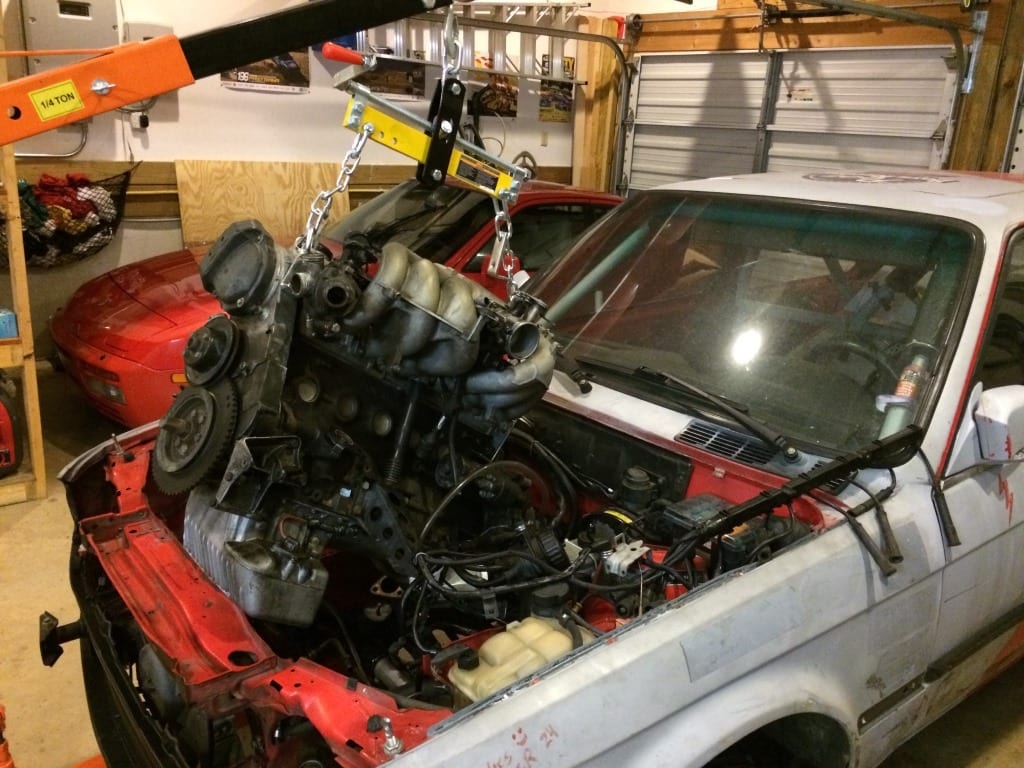
These checks were among the many items on our prep list as we prepared for the 24 hour ChumpCar race at Virginia International Raceway. Initially the concern was piston ring or valve sealing due to excessive oil consumption in the previous race. Through the compression check and leak down test it was clear we did not have any issues sealing. The first indicator of a major issue was the oil analysis results which showed high levels of lead, copper and tin pointing us towards excessive bearing wear. The presence of a significant amount of metal shavings observed during the oil filter teardown confirmed the results of the oil analysis. This lead to a last minute engine build and swap to ensure our car was in good health before subjecting it to the tortures of an endurance race. Stay tuned for results…
*This is not meant to be a how-to for each of these tests. Follow the gauge manufacturer’s recommendations and specific procedures for your vehicle.